If you can already make the yellow cross but the side colors still do not match, Rubik's Cube step 5 is where you swap the yellow edge pieces to match the side center colors. Use the algorithm correctly and repeat it until all four edges align.
What Is Rubik's Cube Step 5
Step 5 of Rubik's Cube is where you swap the yellow edge pieces so they match the side center colors. At this stage, the yellow cross is already complete on the top face, but the edge pieces may still be in the wrong positions. The goal is to align all four top-layer edges with their matching side colors, and this step 5 Rubik's Cube solution stage comes after:
White Cross
First Layer Corners
Second Layer Edges
Yellow Cross
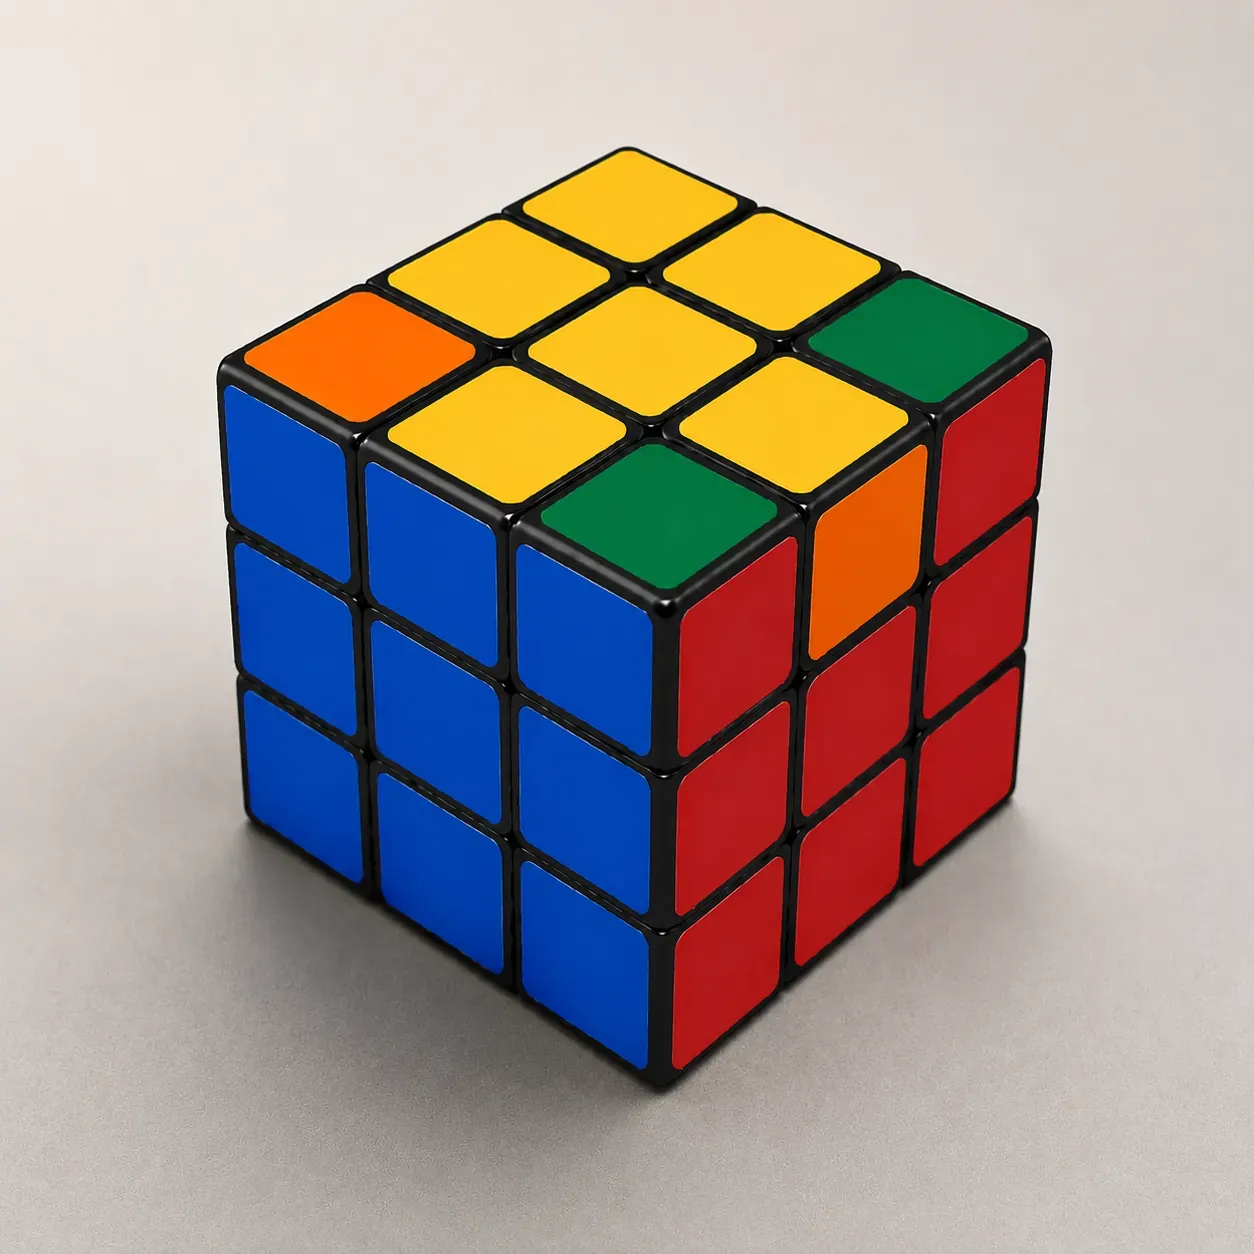
When you reach this step, some yellow edges may already match the side center colors while others do not. Rotate the top layer to check which edges are correctly aligned before using the algorithm.
How to Solve a Rubik's Cube Step 5
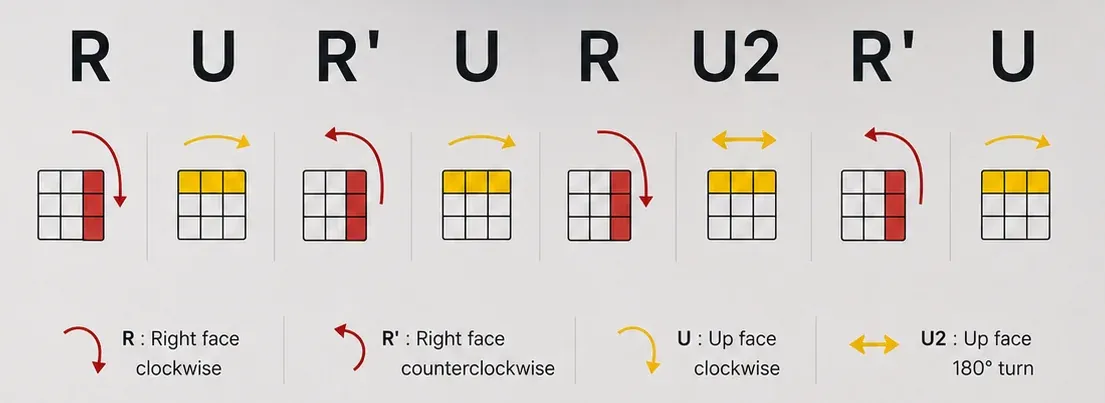
In 3x3 Rubik's Cube solution Step 5, the goal is to swap the yellow edge pieces until all four side colors match their center pieces. The beginner method Rubik's Cube step 5 algorithm for this step is: R U R' U R U2 R' U.
R: means turn the right face clockwise
U: means turn the top face clockwise
': means turn the face counterclockwise
U2: means turning the top face twice (180 degrees)
First, rotate the top layer and look for two adjacent yellow edges that already match the side center colors. Hold the cube so the solved edges are at the back and left sides before performing the algorithm.
After the step 5 solving Rubik's Cube algorithm, check the top-layer edges again. If all four side colors do not match yet, rotate the U face and repeat the sequence until every yellow edge is aligned correctly.
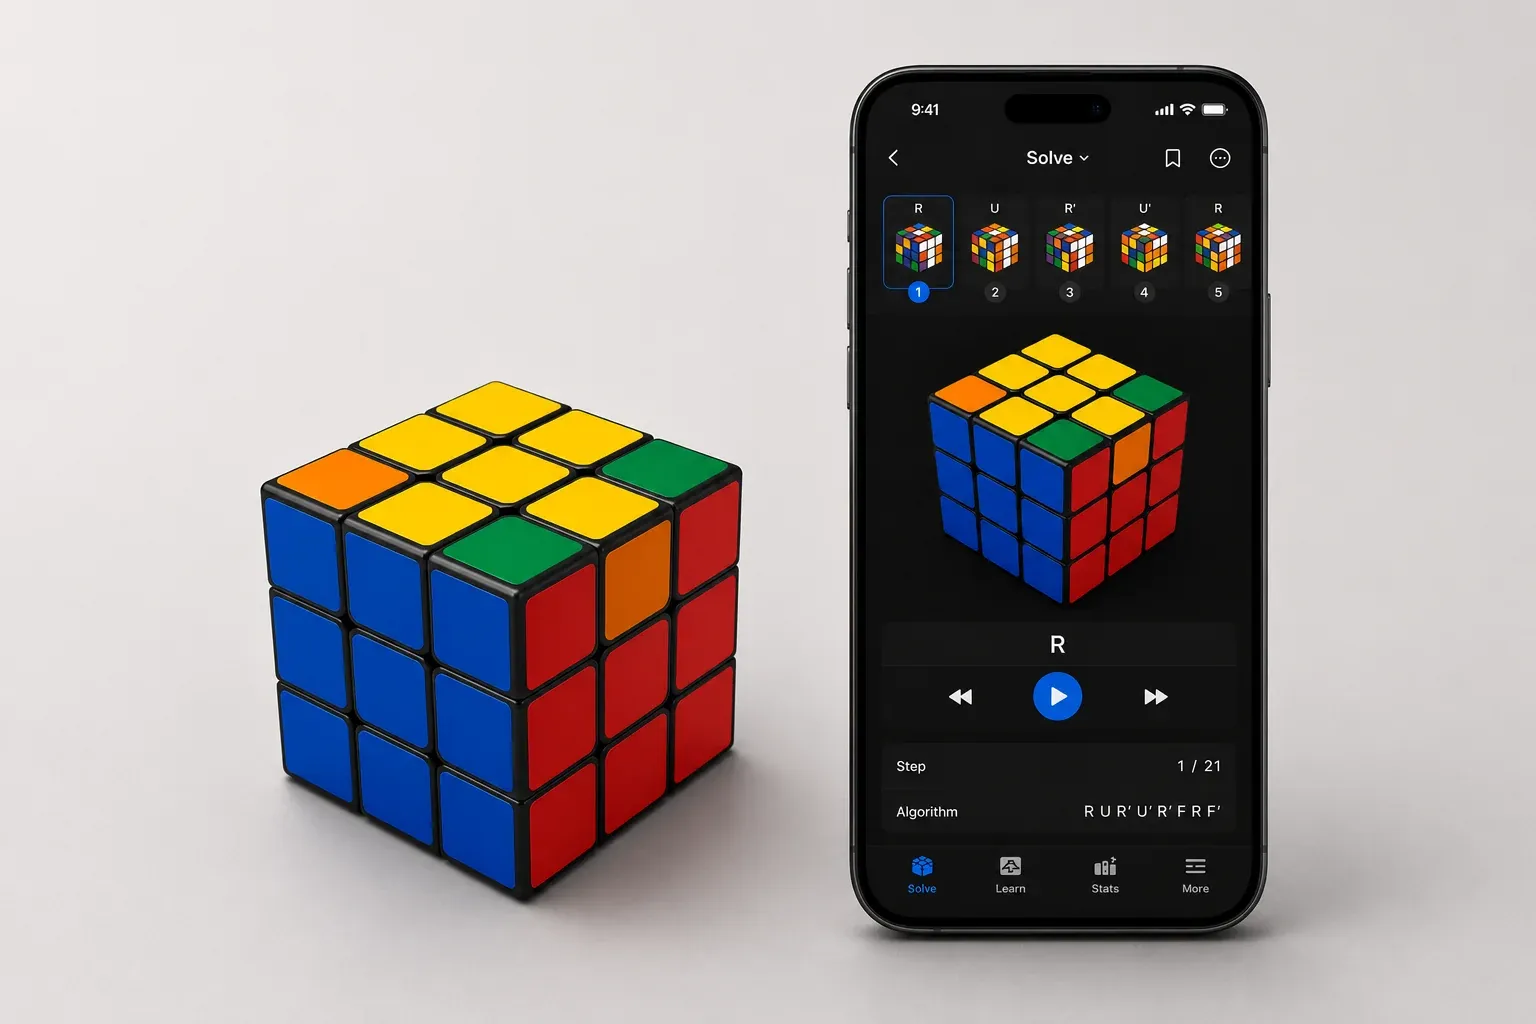
If the cube becomes confusing after several attempts, you can check the current cube state using a Rubik's Cube solver such as CubeSolver AI, which provides step-by-step solutions for standard 2×2, 3×3, and 4×4 Rubik's Cubes. This can help you understand where the cube went wrong before repeating the Step 5 process.
Tips to Solve Rubik's Cube Step 5 Faster
Many beginners struggle in Rubik's Cube solve 5 Steps beginner method because of incorrect cube positioning, not the algorithm itself. Before using the sequence, always check which yellow edges already match the side center colors.
Practice R U R' U R U2 R' U until you can perform it smoothly without stopping.
Common mistake: Mixing this sequence with other last-layer algorithms.
- Check for matching edges first
Rotate the top layer and look for two adjacent yellow edges that already match the side center colors before starting.
Common mistake: Using the algorithm from a random cube position.
- Keep the solved edges at the back and left
The algorithm works correctly only when the matching edges are placed in the correct position.
Common mistake: Holding the cube in the wrong orientation.
- Finish the full sequence every time
The cube may look more scrambled during the algorithm, but this is normal. Complete the entire sequence before checking the result.
Common mistake: Stopping halfway because the side colors look incorrect.
Conclusion
Rubik's Cube solve Step 5 focuses on swapping the yellow edge pieces so they match the side center colors while keeping the yellow cross intact. Rotate the top layer to find matching edges, place them in the correct position, and repeat the algorithm R U R' U R U2 R' U until all four side colors align correctly. With proper setup and practice, this step becomes fast and consistent.
Rubik's Cube Step 5 FAQ
Why don't all side colors match after making the yellow cross?
The yellow cross only means the yellow stickers on the top-layer edge pieces are facing upward correctly. It does not mean the edge pieces are in the correct positions yet. In this Step 5, you still need to swap the yellow edges so each side color matches its center piece.
What should I do if no yellow edges match?
This is a common beginner case. If none of the yellow edge pieces match the side center colors, perform the algorithm R U R' U R U2 R' U once from any starting position. This will usually create a new pattern where two adjacent edges match, allowing you to position the cube correctly and repeat the algorithm normally.
Why does the cube sometimes look more scrambled during Step 5?
During the algorithm, several top-layer pieces temporarily move out of place before returning to their correct positions. This is a normal part of the edge-swapping process. Many beginners stop too early because the cube briefly looks worse in the middle of the sequence. Always complete the full algorithm before checking the result.
How do I know where to hold the cube before using the algorithm?
First, rotate the top layer and look for two adjacent yellow edges that already match the side center colors. Hold the cube so these matching edges are on the back and left sides before performing the algorithm. Correct cube positioning is important because the sequence swaps specific edge pieces based on the cube orientation.
