Solving a Rubik's Cube can feel like an impossible task—until you learn the proper method. One of the easiest and most beginner-friendly ways to start is the Rubik's Cube daisy method. In this blog, you'll learn how to solve a Rubik's Cube daisy method, why it works, and how it helps beginners understand cube mechanics.
What Is the Daisy Method on a Rubik's Cube?
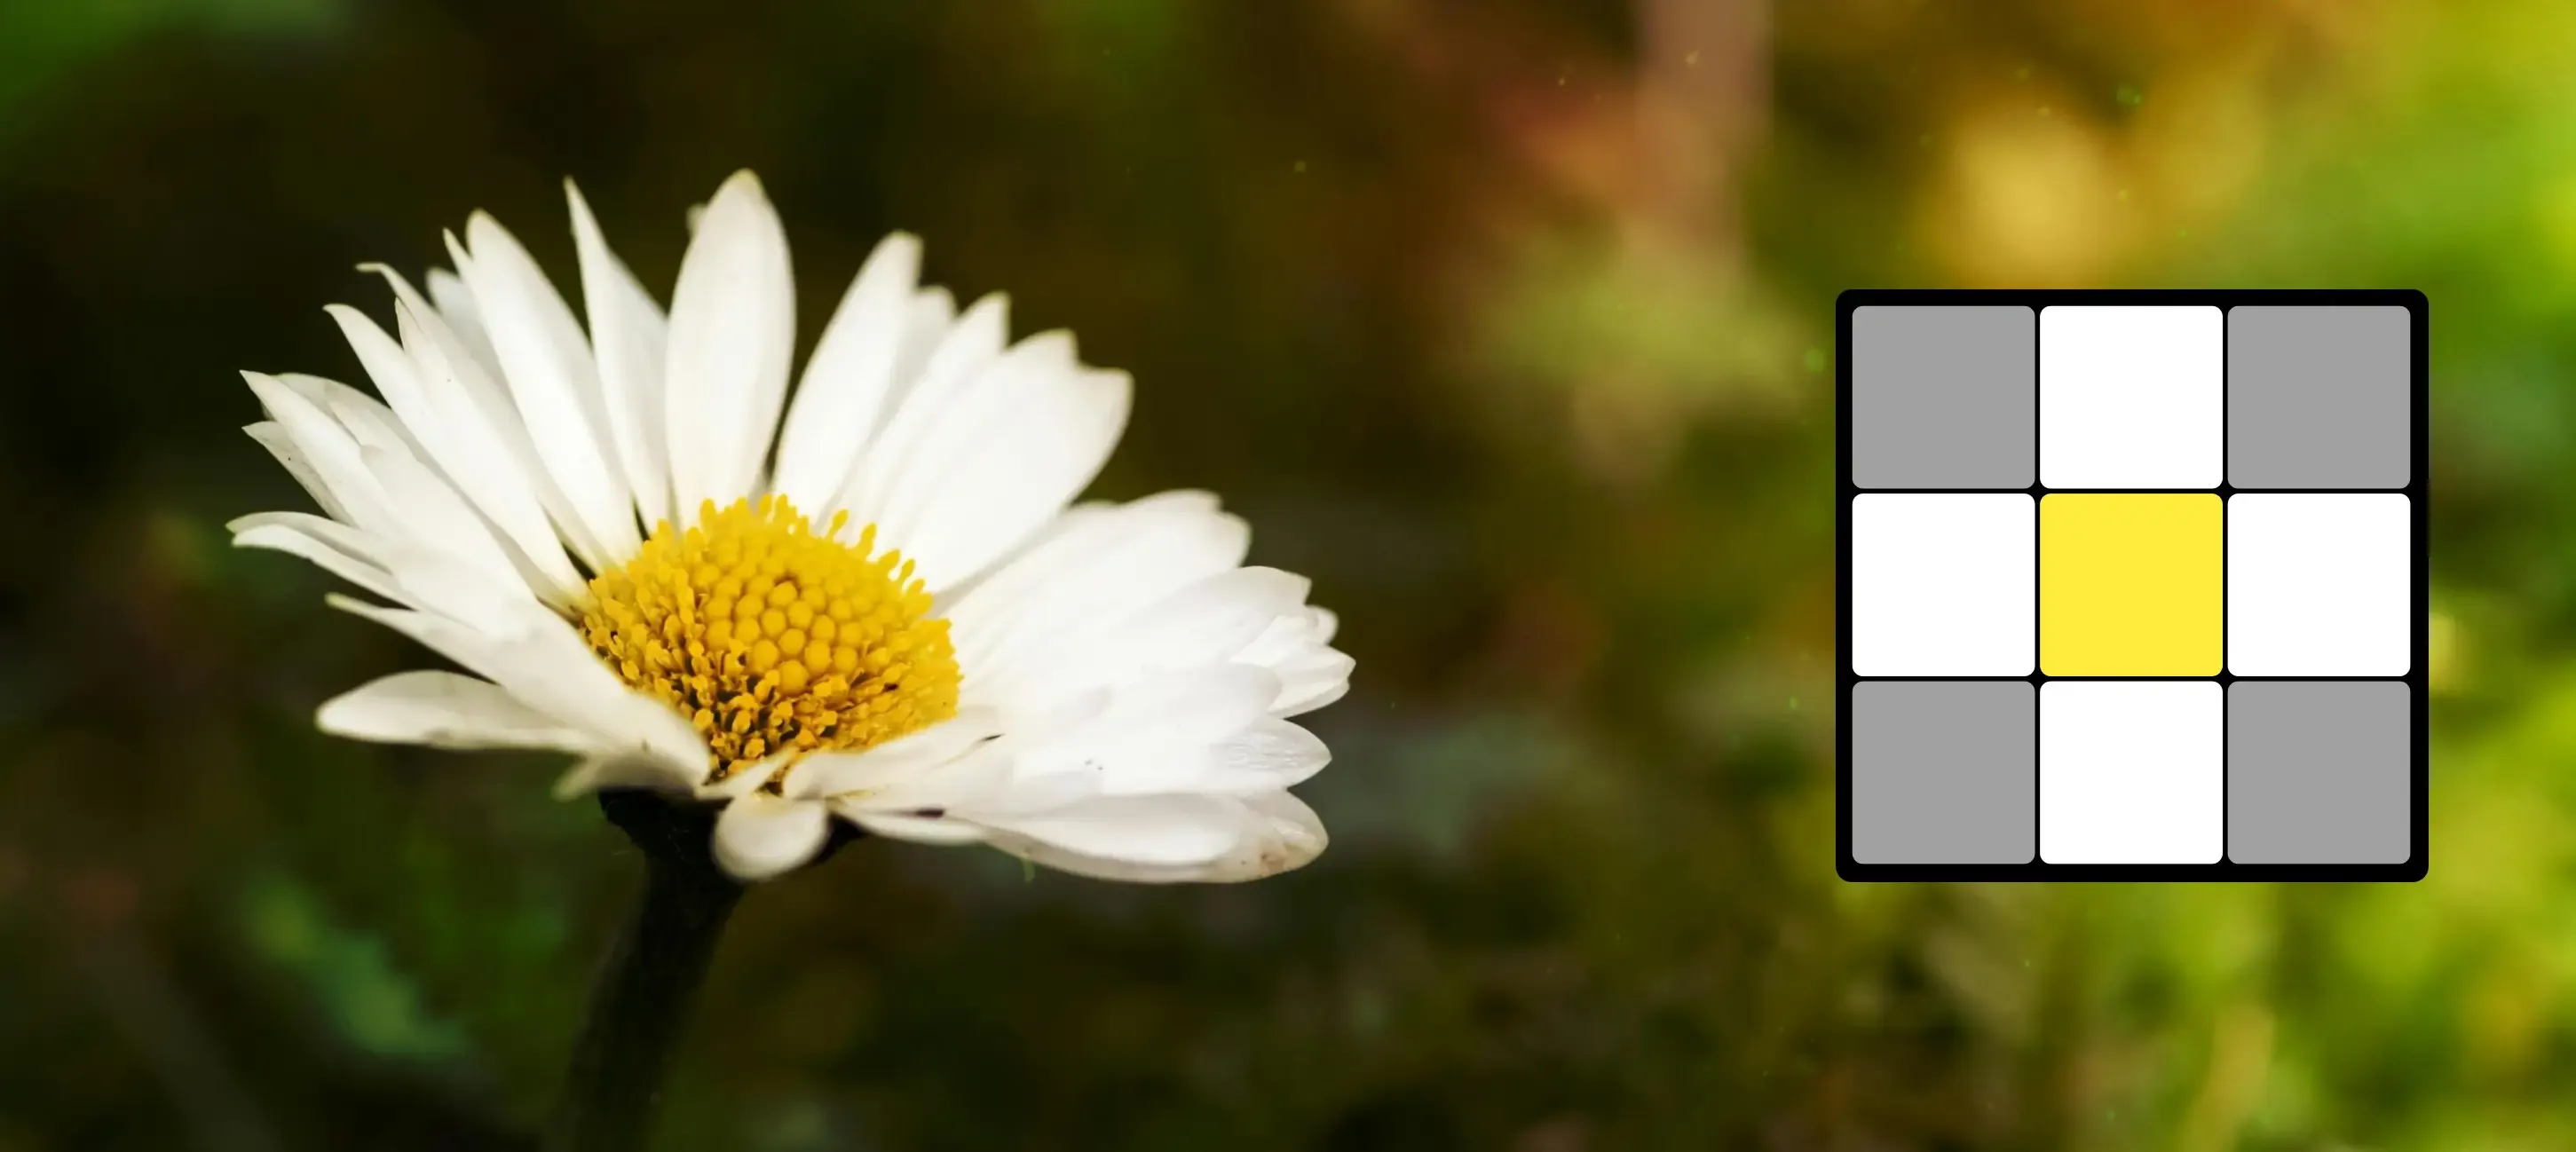
The daisy method Rubik's Cube is a simplified technique used to start solving the 3x3 Rubik's Cube. It focuses on forming a pattern that looks like a daisy: a yellow center with white edge pieces around it. This approach helps beginners visualize color alignment and piece movement, making the cube far less intimidating.
Why Use the Daisy Rubik's Cube Method?
The solving Rubik's Cube daisy method is popular because it teaches foundational cube movement while keeping things visual and manageable. It's especially useful for children and absolute beginners who struggle with more complex strategies like CFOP.
Learning how to do the daisy method on a Rubik's Cube offers several advantages:
- Beginner-friendly: It breaks down the solving process into clear, visual steps.
- Improves spatial awareness: Helps you understand how pieces move in 3D space.
- Builds muscle memory: Repetition of these steps trains your hands and brain.
If you're just starting out, the Daisy Rubik's Cube method is your best entry point.
Rubik's Cube Daisy Method Step-by-Step
Here's a simple guide to the Rubik's Cube daisy method step by step. You'll need to identify the yellow center and the white edge pieces first. Here are the steps:
Step 1. Find the yellow center. The yellow center is fixed. Locate it on your cube. This will be the center of your "daisy".
Step 2. Locate all white edge pieces. You're looking for white edge pieces—not white corners. Edge pieces have two colors and sit between corners.
Step 3. Move white edges around the yellow center. Bring each white edge piece to surround the yellow center. You may need to rotate the bottom or middle layers to move a white edge into position. Be careful not to mess up the pieces already in place. Once complete, your cube should look like a daisy: yellow in the middle, white edges around it.
Step 4. Match white edges with side center colors. Now rotate the top face until each white edge also aligns with the center color on its adjacent face. For example, if a white edge also has red, align it with the red center piece.
Step 5. Flip the white edges to the bottom. Once aligned, perform a 180-degree rotation (half-turn) on the face to bring the white edge to the bottom. This forms part of the white cross on the opposite side of the yellow face. Repeat this process for all four white edge pieces.
Step 6. The white cross is formed. Once done, you'll have a white cross on the bottom of your cube with correct edge alignment. This is the foundation for solving the first two layers.
After the Daisy: What's Next?
You've now completed the solve Rubik's Cube daisy method portion—nice job! After this, most beginners proceed with solving the white corners to complete the first layer, followed by the middle layer, and finally, the last layer, the yellow face and sides. Commonly, people use the Beginner's Method or Layer-by-Layer (LBL) method after completing the Daisy step.
Need Extra Help? Try the Cube Solver App
Whether you're stuck on a step or want to see how it's done in real-time, the Cube Solver app is the perfect companion. It's an AI-powered tool designed to help you solve 2x2, 3x3, and even 4x4 cubes.
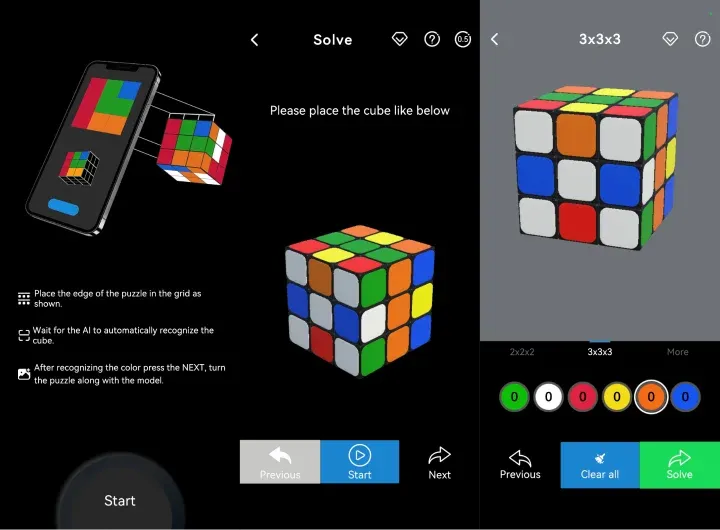
With intuitive instructions, the app guides you step-by-step through your cube's current combination and shows you how to solve it. It's like having a cubing coach in your pocket. Ideal for beginners or anyone aiming to improve their cube-solving confidence.
Conclusion
The Rubik's Cube daisy method is a fantastic way to dip your toes into the world of cubing. It teaches important fundamentals, sets up the white cross, and makes the rest of the solve more intuitive. Whether you're learning for fun or starting your cubing journey, understanding how to solve a Rubik's Cube Daisy method puts you on the right path. Practice it a few times, and soon you'll be teaching others how to do it too!
Can't solve your scrambled cube? Pair it with helpful tools like the Cube Solver app, and you'll be solving 2x2, 3x3, or even 4x4 cubes with confidence.
Rubik's Cube Daisy Method FAQ
Q: Is the daisy method the easiest way to solve a Rubik's Cube?
Yes, for beginners. It simplifies the process by breaking the white cross formation into smaller visual tasks. In other words, the daisy method makes the cube feel more approachable. That's why it's often recommended as the first method to learn when solving a Rubik's Cube—especially if you're new or teaching kids.
Q: Can I solve the entire cube using only the daisy method?
No. The daisy Rubik's Cube method is just the first step. After that, you'll need to learn the next stages, like placing corners and solving the middle and final layers.
Q: What if I can't find a white edge?
To bring white edge pieces to the top face, gently rotate the side and bottom layers while keeping track of the yellow center face. If a white edge is on the bottom face, you can use a simple 90-degree turn to move it to the side, and then another turn to bring it up to the top. From there, you can maneuver it into position around the yellow center to complete your daisy.
Q: Is the daisy method used in speedcubing?
Rarely. Speedcubers often skip it for faster methods like CFOP or Roux. However, it's a great stepping stone toward more advanced solving.