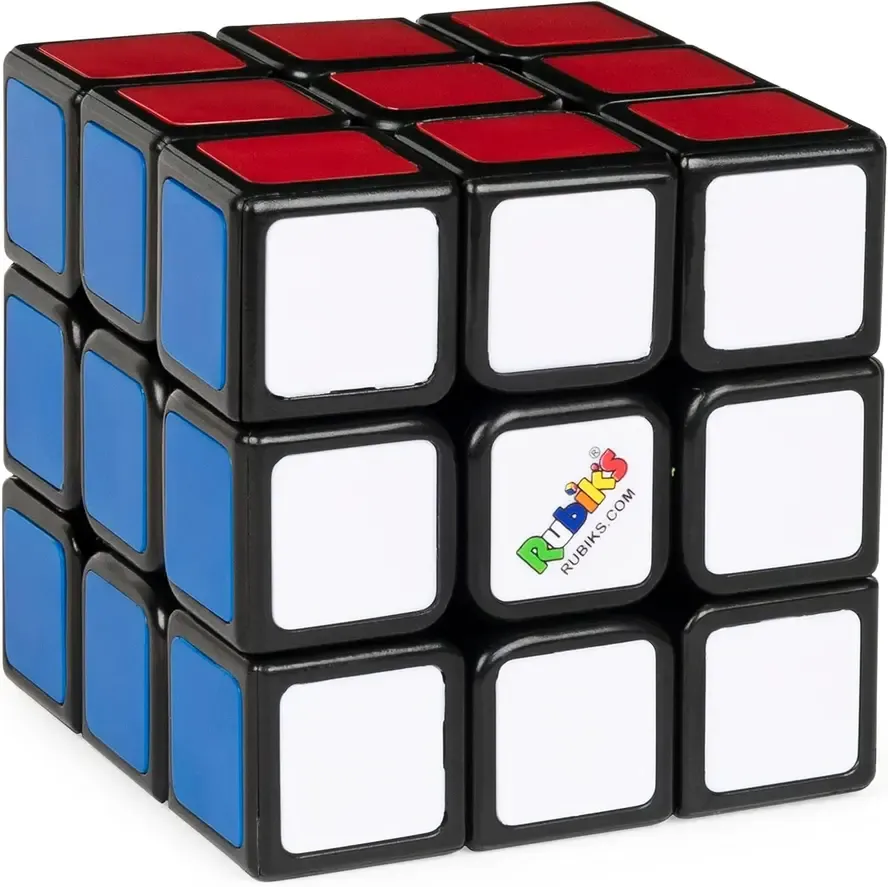
The Rubik's Cube is one of the most iconic and fascinating puzzles ever created. But have you ever wondered how to make a cube yourself? Whether you're interested in designing a custom 3D-printed cube, crafting one from wood, or even building a paper model, creating a cube from scratch is a rewarding and educational process.
In this guide, we'll walk through multiple methods of making a cube, including designing a functional Rubik's Cube, building a decorative cube, and even crafting a cube out of simple materials. Each section will provide a step-by-step process, ensuring you can follow along and build your very own cube!
Understand the Structure of a Cube
Before diving into the construction process, it's crucial to understand the fundamental structure of a cube. The standard Rubik's Cube consists of 26 moving parts and a core mechanism that allows rotation along different axes. Each cube is composed of:
Centers (6 pieces) – Fixed in place and determine the color of each face.
Edges (12 pieces) – Move around the cube and connect the centers.
Corners (8 pieces) – Move and rotate into different positions.
Core – The internal mechanism that holds the pieces together while allowing rotation.
Knowing this will help when assembling a functional cube. But if you're simply making a decorative or non-moving cube, the structure can be much simpler. Now, let's move on to actually how to make a Rubik's cube!
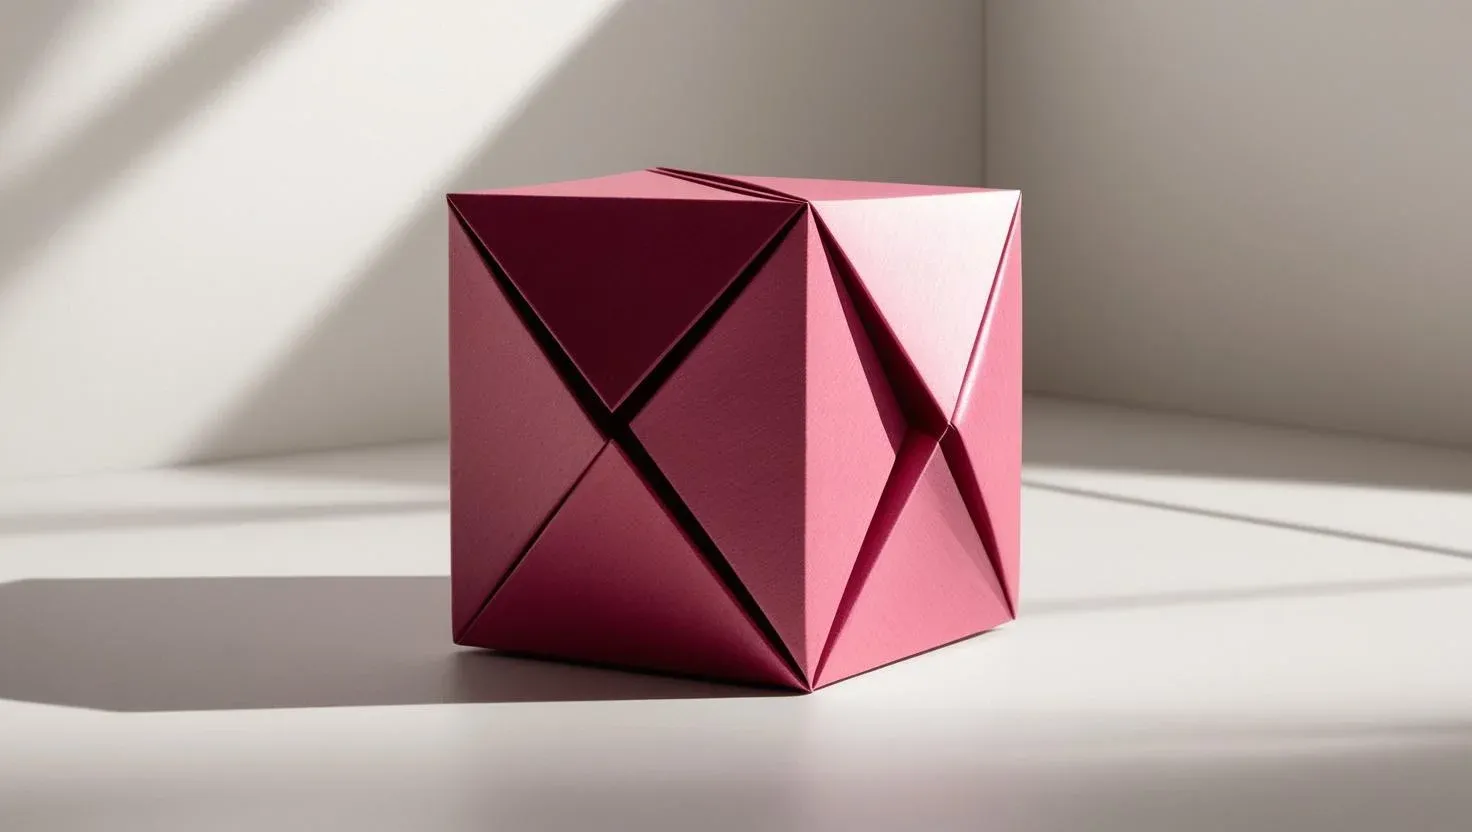
Way 1. How to Make a Paper Cube
A paper cube is an easy and fun project that requires just scissors, paper, and glue. This is perfect for making origami cubes, small decorative cubes, or even a fun puzzle cube for kids. Here are the detailed steps to learn how to make a cube out of paper.
Step 1: Creating a Cube Template
Draw or print a cube net (a 2D shape that folds into a 3D cube). How to make a cube drawing? The net should consist of six connected squares. You can find printable templates online or draw your own on cardstock paper.
Step 2: Cutting and Folding the Cube
Cut out the template and carefully fold along the lines to form the cube shape. Use a ruler for precise creases.
Step 3: Gluing the Cube Together
Apply glue to the edges and assemble the cube by attaching the flaps. Hold the sides together until the glue dries.
Step 4: Decorating Your Paper Cube
Once the glue has dried, you can draw designs, apply stickers, or color the faces to make your cube unique. If you want a stronger paper cube, use cardboard instead of regular paper. For an origami cube, try folding six identical paper sheets into an interlocking modular cube!
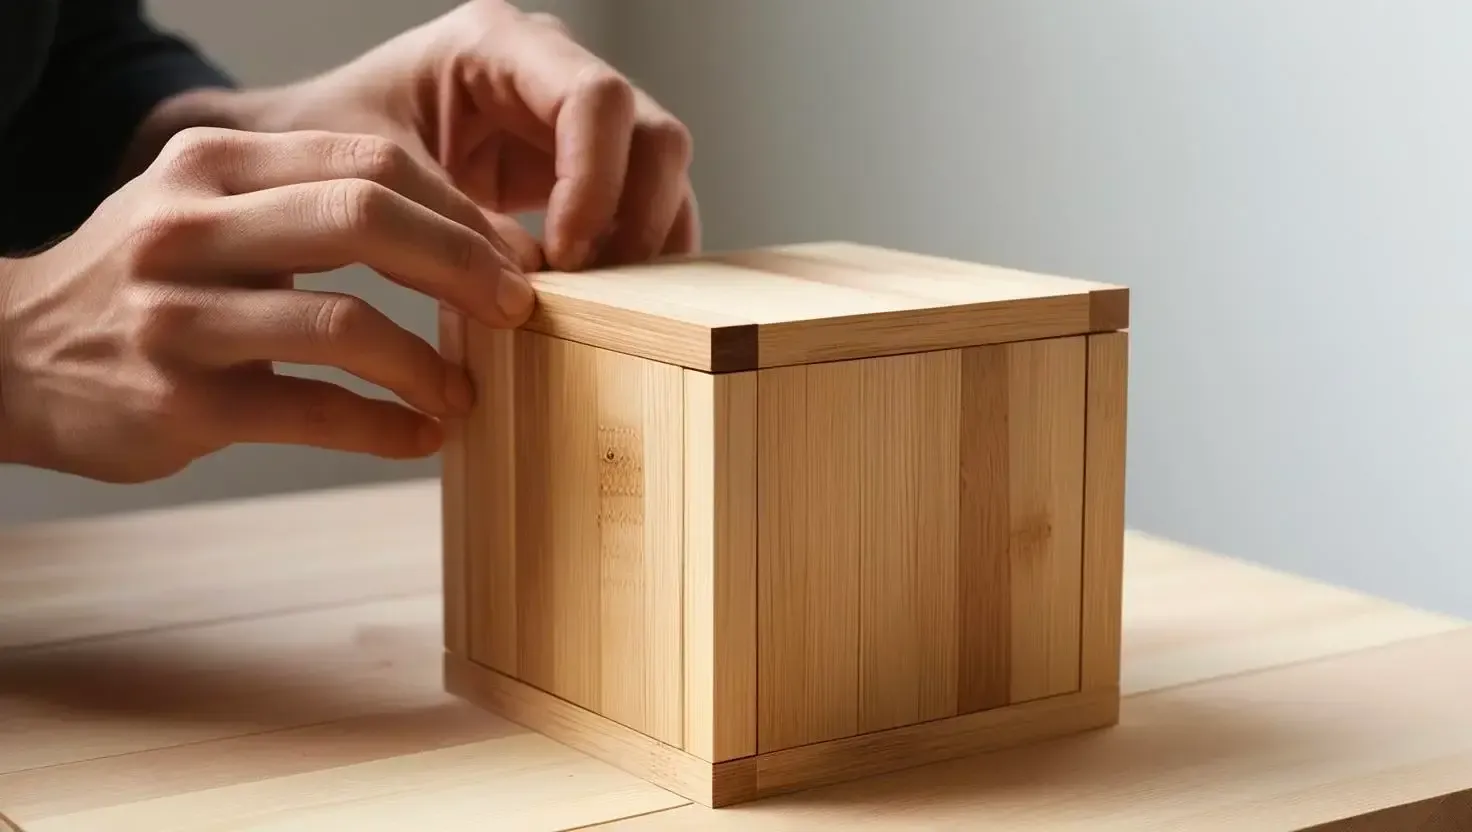
Way 2. How to Make a Wooden Cube
If you prefer a classic, handmade approach, building a cube from wood can be a fun and artistic challenge. This method is perfect for making a decorative cube or even a functional wooden puzzle cube with movable parts. Now, let's dive into how to make a cube step by step.
Step 1: Gathering Materials
To make a wooden cube, you'll need:
- Wood blocks (cut into 27 equal-sized cubes for a standard 3×3 design).
- Saw and sandpaper for shaping and smoothing edges.
- Wood glue or dowels to attach pieces.
- Paint or wood stain for finishing.
Step 2: Cutting and Shaping the Cube Pieces
Using a saw, carefully cut wooden blocks to equal dimensions. Sand the edges smoothly to ensure they fit together neatly.
Step 3: Assembling the Cube
If making a non-moving decorative cube, glue the pieces together into a solid shape. If you want a functional wooden puzzle cube, use small magnets or dowel pins to connect pieces while allowing movement.
Step 4: Finishing Touches
Once assembled, paint or stain the cube to give it a polished look. You can even engrave patterns or burn designs into the wood for a unique touch!
Way 3. How to Make a 3D Cube
How to make a Rubiks cube? If you want to build a working, twistable cube, 3D printing is one of the best ways to do it. This method allows for precision and customization, giving you control over size, colors, and even patterns on each face.
Step 1: Designing the Cube in CAD Software
The first step is to create a 3D model of the cube using CAD software. If you're new to 3D modeling, you can download pre-made cube designs from websites like Thingiverse or Cults3D.
Step 2: Printing the Cube Parts
Once your model is ready, export it as an STL file and print each piece using a 3D printer. Use PLA or ABS filament for durability.
Step 3: Assembling the Cube Mechanism
After printing, you'll need to assemble the core mechanism and attach the pieces. A typical Rubik's Cube mechanism consists of a screw, spring, and center pieces that hold everything together. Carefully connect each edge and corner piece to ensure smooth rotation.
Step 4: Applying Stickers or Colors
Finally, customize your cube by painting the faces or using vinyl stickers to match a traditional Rubik's Cube color scheme. Now, you have a fully functional, custom-built 3D-printed cube!
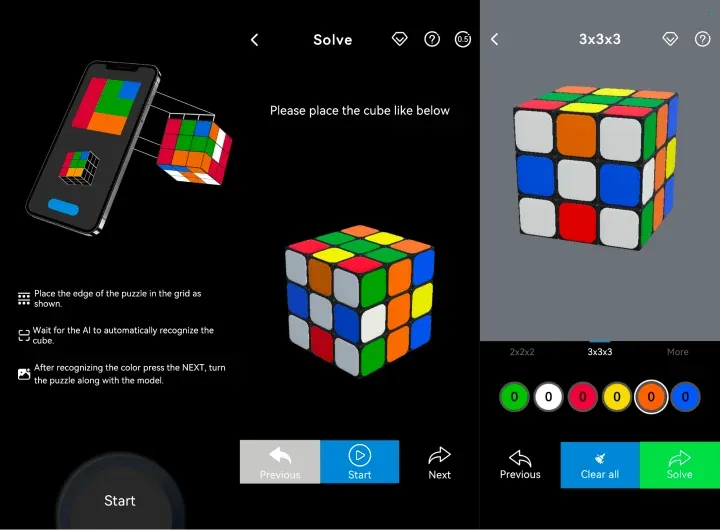
Tip: When you finish a cube, you can try the AI Rubik's Cube Solver app to easily solve any scramble.
Wrapping Up
How to make a Rubik's Cube faster? Making a cube is a rewarding project, whether you're folding a paper model, crafting a wooden cube, or 3D printing a functional puzzle. Each method offers a different level of complexity, allowing you to choose based on your skills and available materials. By following the steps in this guide, you can create a custom-built cube suited to your needs—whether for puzzle-solving, decoration, or creative expression.
How to Make a Cube FAQ
Q: How to make a cube step by step?
If using paper or cardboard, draw six equal squares in a cross shape, cut it out, and fold along the lines. Then, glue or tape the edges together to form a cube. For an origami cube, fold a square piece of paper into a grid, then shape and tuck the edges to lock the sides. If using 3D software, simply select the cube tool and adjust the size to make all sides equal.
Q: How to make a foldable 3D cube?
To make a foldable 3D cube, draw six equal squares in a cross shape on sturdy paper or thin cardboard. Add small tabs on the edges for easy assembly. Cut out the shape, fold along the lines, and use glue or tape to attach the edges, leaving one side open if you want to flatten it later. This makes the cube easy to store and reuse whenever needed.
