If you can scramble a cube but struggle to complete a clean first layer, this guide will help. Many beginners place the white pieces on one face but forget to match the side colors with the center pieces, which causes problems later in the solve. Learning this step correctly is the foundation for understanding how to solve the top layer of a Rubik's Cube.
Before You Start: Orientation and First-Layer Rules
Before solving the first layer, it helps to understand what a correct first layer actually looks like. Many beginners focus only on placing white stickers on the top face, but a proper first layer must also match the cube's side center colors. Taking a moment to check this structure will make the rest of the solve much easier.
What a Correct First Layer Includes
A correct first layer is more than just a white face. It should meet all four conditions:
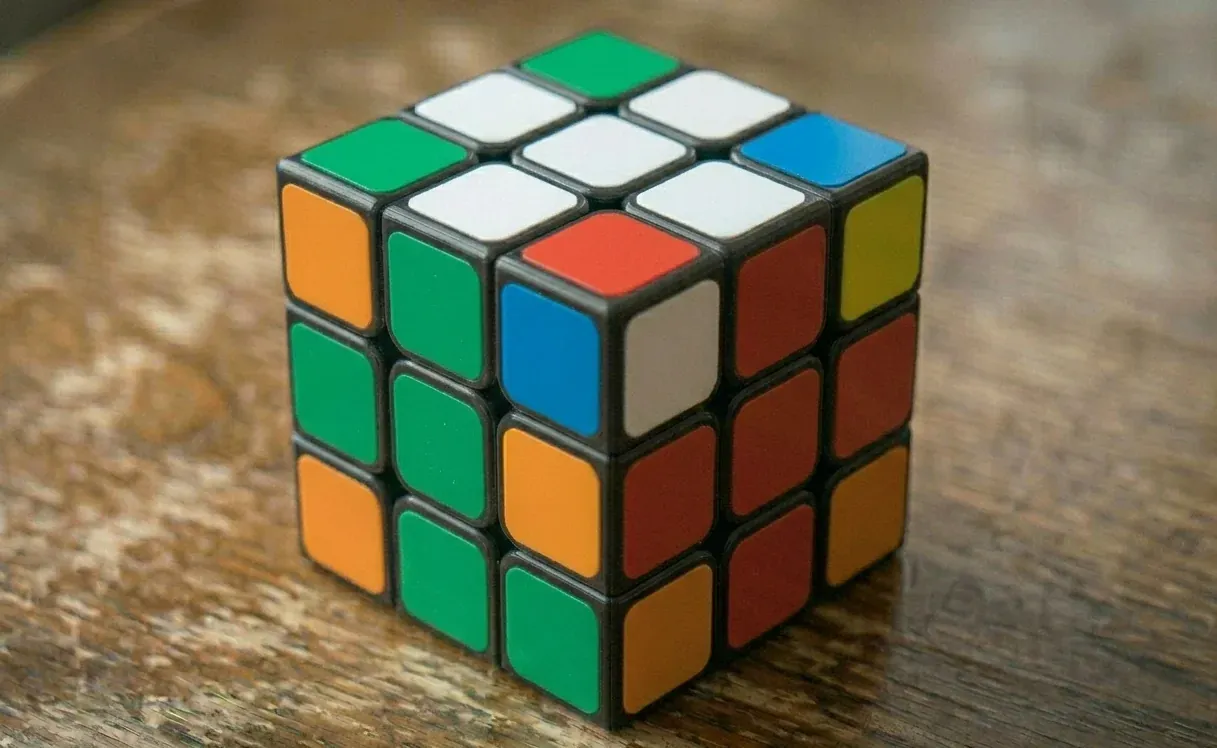
White center is on top.
Four white edge pieces form a white cross.
Each white edge matches the side-center color.
Four white corners are placed correctly with matching side colors.
Basic Orientation Rules
Before you start turning quickly, follow a few simple rules to keep the cube organized:
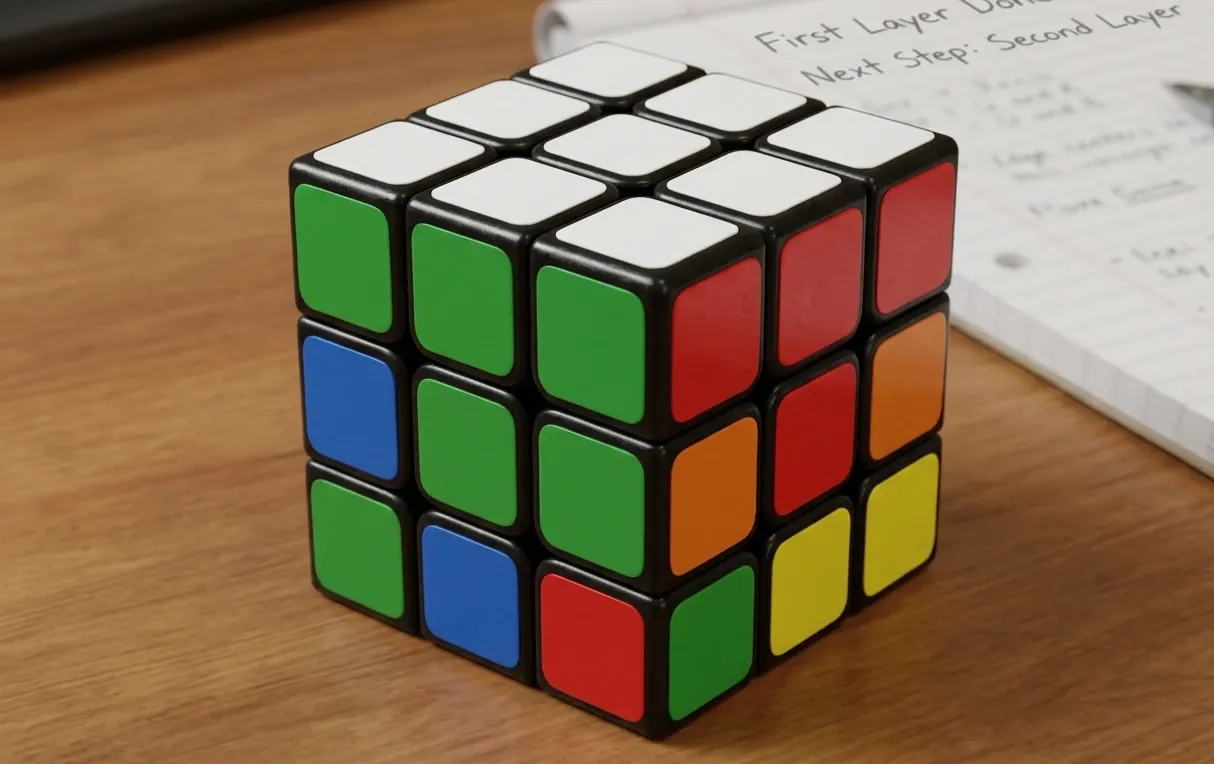
Keep white on top while building the first layer.
Use the yellow face as the working layer to move pieces safely.
Avoid randomly rotating the whole cube during short algorithms.
After each step, check that edge colors match the side centers.
A Common Beginner Mistake
Most first-layer mistakes happen because beginners focus only on white stickers. A face that looks white may still be incorrect if the edge pieces do not match the side centers. Always check the side colors as you build the cross and insert the corners.
How to Solve the Top Layer of a 3x3 Rubik's Cube
Follow this sequence each time you solve the first layer. It may be slower than advanced speedcubing methods, but it is reliable and easy to troubleshoot, especially for beginners.
Step 1. Build the White Cross
Create a white cross on the top face, with all four edge pieces aligned to their side centers. You should see a complete white cross, and the color under each edge should match the center on that side.
Find a white edge piece in the middle or bottom layer.
Move it to the top layer without disturbing edges that are already aligned.
Rotate the top layer until the non-white color matches its center on the side face.
Insert the edge so the white sticker faces up and stays aligned with the center.
Step 2. Locate the White Corner Pieces
Identify where each white corner belongs before inserting it. You should be able to tell where each white corner needs to go, even if it is not inserted yet.
Look through the top and bottom layers to find a white corner piece.
Check its three colors and identify which two side centers it must match.
Move the corner so it sits directly above or below its correct slot.
Step 3. Insert the White Corners
Place each white corner in the correct position with the correct orientation. The entire white face should now be complete, and the first row of each side face should match its center color.
Hold the cube so the target slot is in the front-right-top position.
If the corner is below that slot, use a short right-hand trigger (R U R') to insert it.
If a corner is incorrectly placed in the top layer, move it out first, then insert it again properly.
Repeat the process until all four white corners are placed.
Step 4. Validate the First Layer
Confirm the first layer is solved correctly before moving on. The first layer remains intact during simple U turns, which means it is correctly solved and ready for the middle layer.
Look at all four side faces, the top row should match each side's center color.
Check that no white corner is twisted or misaligned.
Turn the top layer (U) slightly and return it to verify the layer remains stable.
Rubik's Cube Top Layer Algorithms
For the first layer, you do not need many algorithms. A small set of moves, combined with good piece setup, is enough to solve it reliably.
Option 1: Intuitive Insertion with One Trigger
Best for complete beginners who want to memorize fewer moves. Not ideal for solvers already aiming for faster times (e.g., under 30 seconds). Focus on correct placement first. Speed will improve naturally with practice. Method:
Learn a simple corner insertion trigger: R U R'.
Position the target corner below its correct slot before using the trigger.
Repeat the move slowly until the corner inserts correctly.
Option 2: Cross-First Discipline Routine
Best for learners who build a white face but forget to match side colors. Not ideal for solvers who skip checkpoints and rush through turns. This routine helps beginners build the correct color-matching habits early.
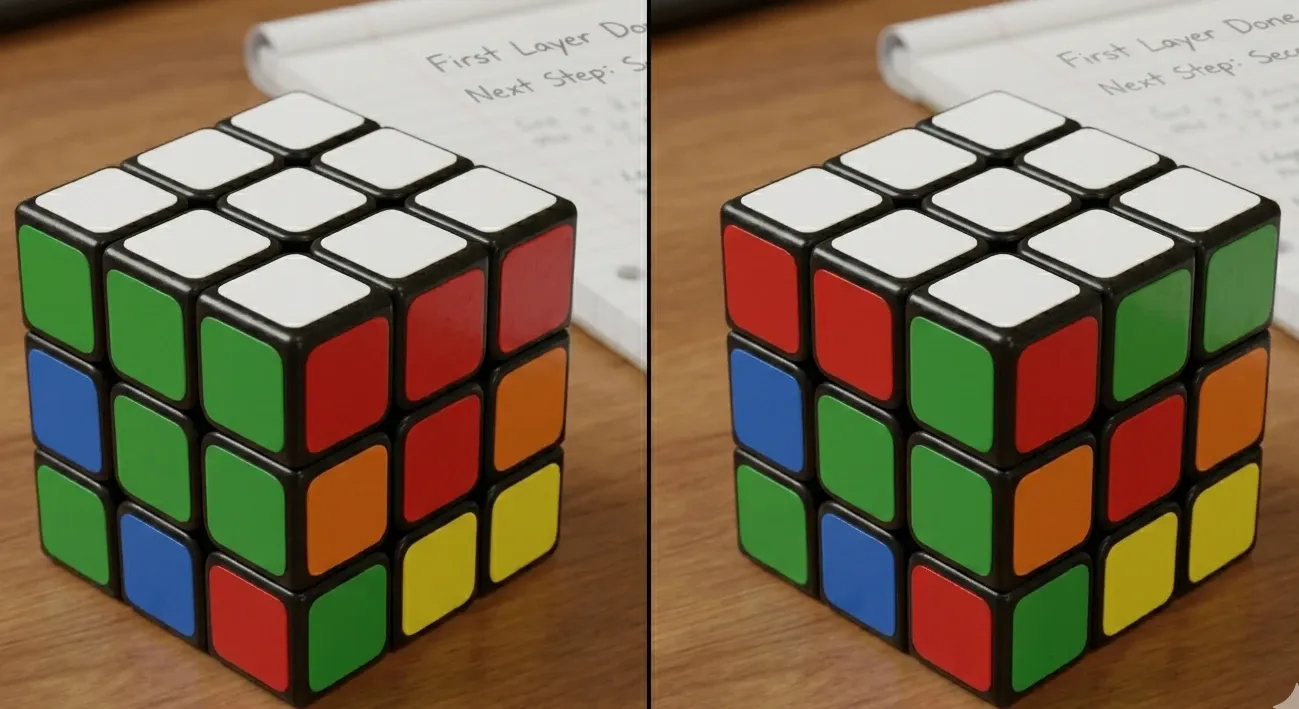
Do not insert any corners until the white cross is perfectly aligned with side centers.
After inserting each corner, quickly check that the adjacent edge colors still match their centers.
If inserting a corner breaks the cross alignment, undo the move and reset.
Option 3: Error-Isolation Practice Loop
Best for solvers who can solve occasionally but struggle to repeat the process consistently. Not ideal for absolute beginners on their first day. This method separates each part of the solve so you can identify exactly where errors occur.
Do 10 solves of the white cross only, then reset the cube.
Do 10 solves inserting the four corners, starting from a solved cross.
Combine both steps and track where mistakes repeat.
Common Top Layer Rubik's Cube Mistakes and Fast Fixes
Even when you know the steps, a few common mistakes can prevent the first layer from being solved correctly. Here are four typical problems and how to fix them quickly.
Mistake 1. Solving the White Face Only
You complete a white face, but the side colors do not match the center pieces. Always check the side-center colors when building the white cross and inserting corners. A flat white face is not a solved first layer if the edge pieces do not match their centers.
Mistake 2. Forcing Corners into the Wrong Slot
Trying to insert a corner into a slot that does not match its colors. Check the three colors on the corner piece first. Insert it only where those colors match the two adjacent centers.
Mistake 3. Breaking the White Cross While Inserting Corners
Previously solved edge pieces move out of place when inserting corners. Use short, controlled trigger moves (such as R U R') and keep the solved cross pieces away from the turns you are making.
Mistake 4. Rotating the Whole Cube Too Often
Frequent cube rotations make it harder to track piece positions. Choose one front-face reference and keep the cube orientation steady while inserting corners.
- When to Use a Cube Solver Tool
If you keep getting stuck on the same cube position, it can help to check the correct next move. Tools like Cube Solver AI can scan your cube and show the solving steps. Many beginners use it to confirm whether their white cross or corner setup is correct before continuing the solve.
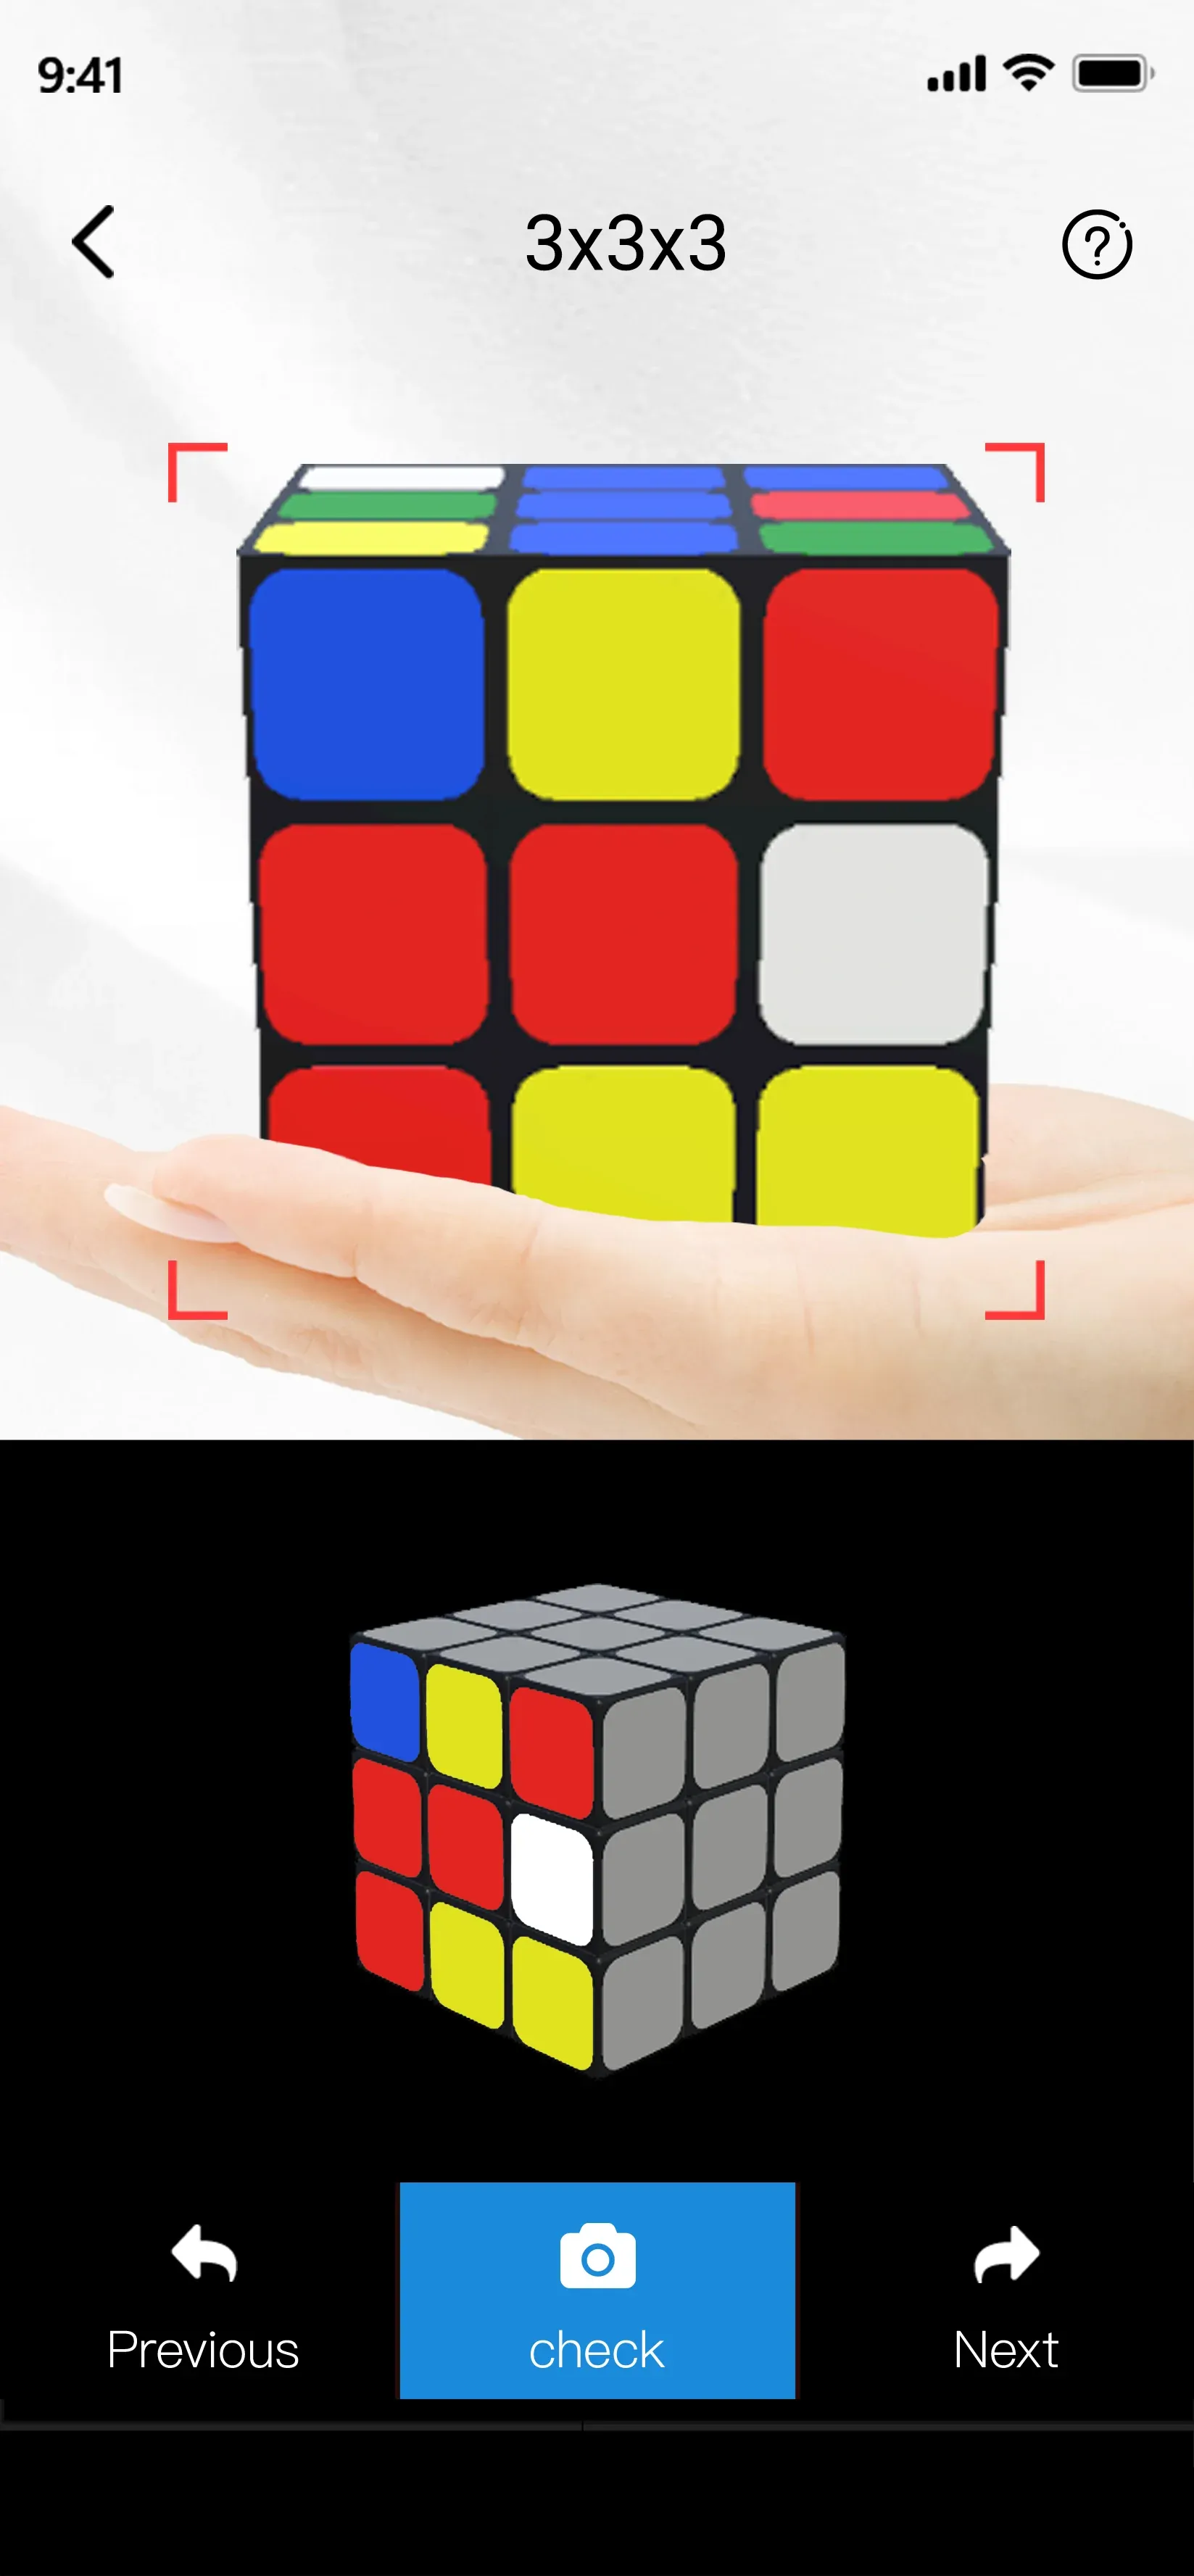
However, it is best to use solver tools as a learning reference, not a replacement for practicing the method yourself.
Closing Words
How to solve top layer of Rubik's Cube? The first layer is the foundation of the entire Rubik's Cube solve. Focus on building a correct white cross, inserting corners carefully, and checking color alignment with the side centers. Once the first layer is stable, solving the rest of the cube becomes much easier.
How to Solve the Top Layer of a Rubik's Cube FAQ
How to solve Rubik's Cube 1st layer?
To solve the first layer of a Rubik's Cube, most beginner methods use two main steps: building the white cross and inserting the white corners.
Make the white cross: Place the four white edge pieces around the white center to form a cross. Make sure each edge also matches the color of the center on the side face.
Insert the white corners: Find the white corner pieces and place each one between the two matching center colors. Insert them until the entire white face is complete.
Check the side colors: When the first layer is solved correctly, the white face will be complete and the top row of each side will match its center color.
What's the Rubik's Cube yellow cross algorithm?
The Rubik's Cube yellow cross algorithm is used to form a yellow cross on the top face during the last-layer stage. Yellow Cross Algorithm: F R U R' U' F'. Here's how to use it:
Hold the yellow face on top.
Look at the yellow edge pattern on the top layer.
Apply the algorithm depending on the shape you see:
Dot (no yellow edges) → apply the algorithm twice
L shape → hold the L in the top-left corner, then apply once
Line → hold the line horizontal, then apply once
How to solve the top layer of a 4x4 Rubik's Cube?
To solve the top layer of a 4×4 Rubik's Cube, you first reduce the cube to a 3×3 state, then solve the last layer like a normal 3×3. The main difference is that 4×4 cubes can produce parity cases that do not occur on a 3×3.
Solve centers and pair edges: Complete all center pieces and pair the edge pieces so the cube behaves like a 3×3.
Make the yellow cross: Use the same algorithm as a 3×3: F R U R' U' F'.
Solve the yellow edges and corners: Align edges and position the corners using standard 3×3 last-layer algorithms.
Fix parity if it appears: Sometimes the top layer will look impossible (for example, only one flipped edge).
How to solve the top layer of a 2x2 Rubik's Cube?
To solve the top layer of a 2×2 Rubik's Cube, you mainly need to position and orient the four top corners. Here's the step-by-step method:
Place the top corners in the correct positions
Algorithm: U R U' L' U R' U' L
Twist the top corners. Hold an unsolved corner at the front-right-top and repeat: R' D' R D
Repeat until that corner is solved, then rotate the top layer (U) to bring the next unsolved corner to the front-right-top and repeat.
Continue until all four corners are oriented correctly. The cube may look scrambled during the process, but it will solve when the last corner is fixed.