Un mini cubo de Rubik puede parecer simple, pero su tamaño más pequeño hace que sea más fácil perder el control de los giros. Muchas personas apresuran sus movimientos, pierden la orientación y terminan cometiendo errores innecesarios. Esta guía explica qué es un mini cubo, cómo resolverlo con movimientos constantes y controlados, y qué hacer si tu resolución empieza a salir mal.
Qué es un mini cubo de Rubik
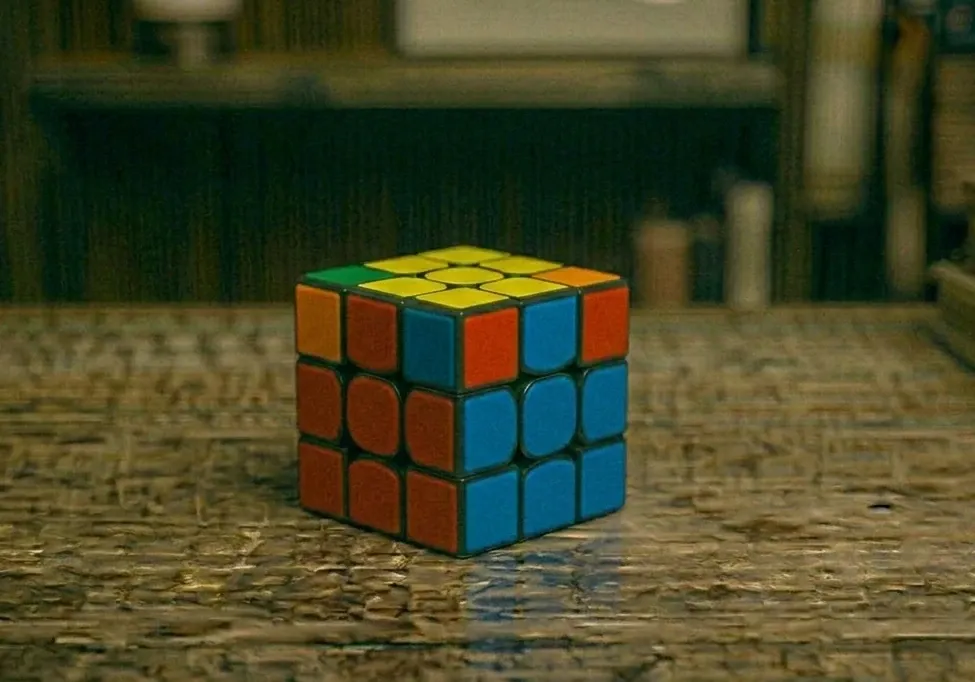
Un mini cubo de Rubik se refiere a un cubo de Rubik 3×3 pequeño, no a un cubo de bolsillo 2×2. Un cubo 3×3 requiere pasos como construir la cruz, resolver las aristas de la capa intermedia y terminar la última capa, mientras que un cubo 2×2 solo tiene piezas de esquina y usa un método de resolución más simple.
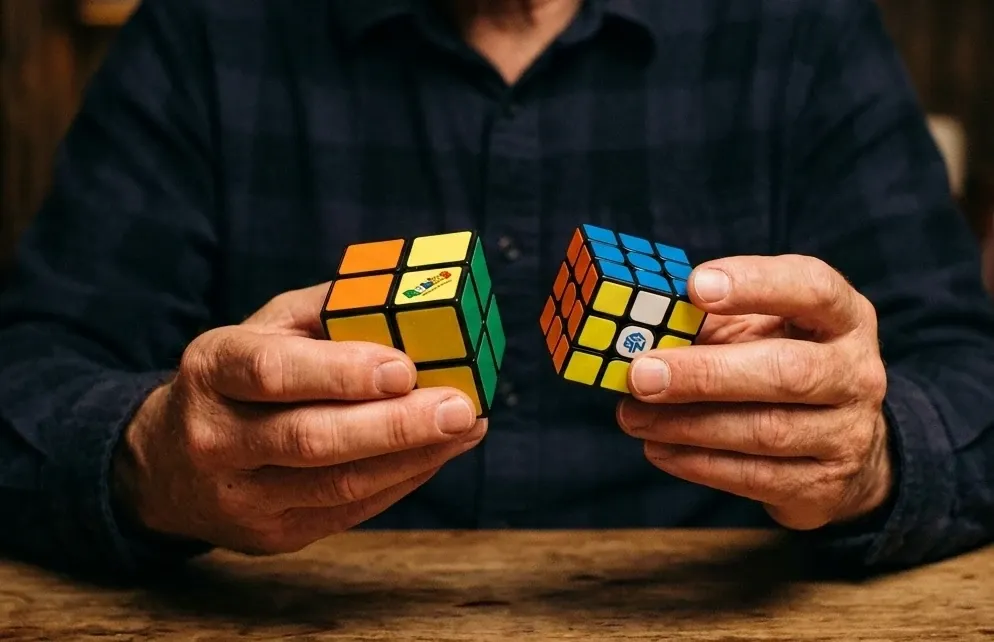
Las búsquedas en línea suelen mezclar estos rompecabezas. Términos como "Mini 3x3 Rubik's Cube" y "Mini Rubik's Cube 2x2" a veces se usan indistintamente, lo que puede confundir a los principiantes. En la práctica, resolver un mini 3×3 sigue el mismo método que un cubo estándar. La única diferencia real es el tamaño más pequeño. Un mini 3x3 suele tener estas características:

La mayoría de los mini cubos 3×3 miden aproximadamente entre 30 y 40 mm de ancho, en comparación con el cubo estándar de 56 mm.
Superficie de giro más pequeña: los dedos pueden mover capas adicionales por accidente.
Espacio visual más reducido: el reconocimiento de colores puede tardar un poco más.
Sensibilidad al agarre: sujetar el cubo con demasiada fuerza puede causar fatiga en la mano.
Cómo resolver un mini cubo de Rubik 3x3
Si quieres progresar de forma constante, sigue un solo método de resolución y mantente con él. La mayoría de las resoluciones fallidas vienen de mezclar métodos, cambiar la orientación en medio de un algoritmo o intentar ir rápido antes de tener precisión. Así se resuelve un mini cubo de Rubik 3x3 paso a paso:
Paso 1. Fija la orientación del cubo
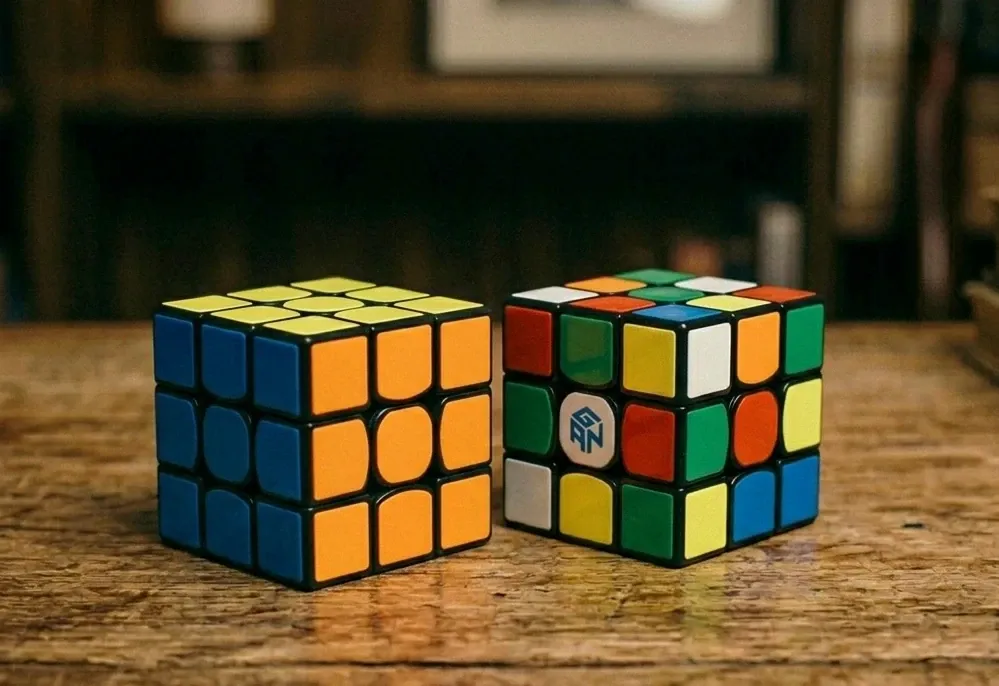
Antes de empezar, elige un color superior y un color frontal. Mantén el cubo en esa orientación mientras realizas los algoritmos. Cambiar la orientación a mitad de la resolución es un error común en cubos más pequeños.
Paso 2. Construye la cruz blanca
Crea una cruz en la cara blanca y alinea cada arista blanca con el color central lateral correspondiente. Si los colores laterales no coinciden con los centros, la cruz no está completa.
Paso 3. Inserta las esquinas blancas
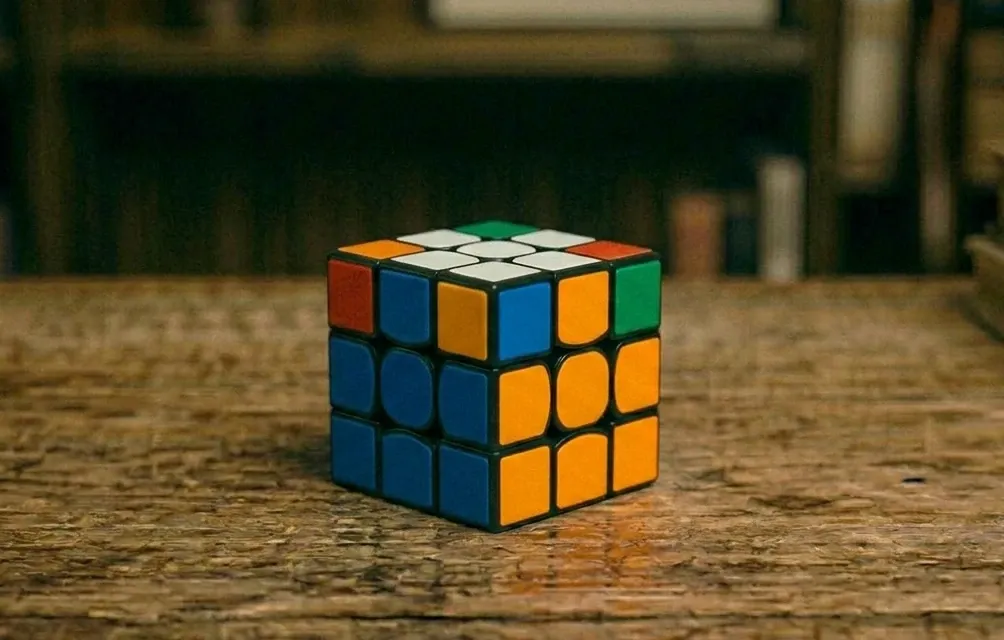
Coloca cada esquina blanca entre los dos centros laterales correspondientes para terminar la primera capa. Si una esquina está atrapada en la ranura equivocada, muévela primero a la capa superior y luego insértala correctamente.
Paso 4. Resuelve las aristas de la capa intermedia
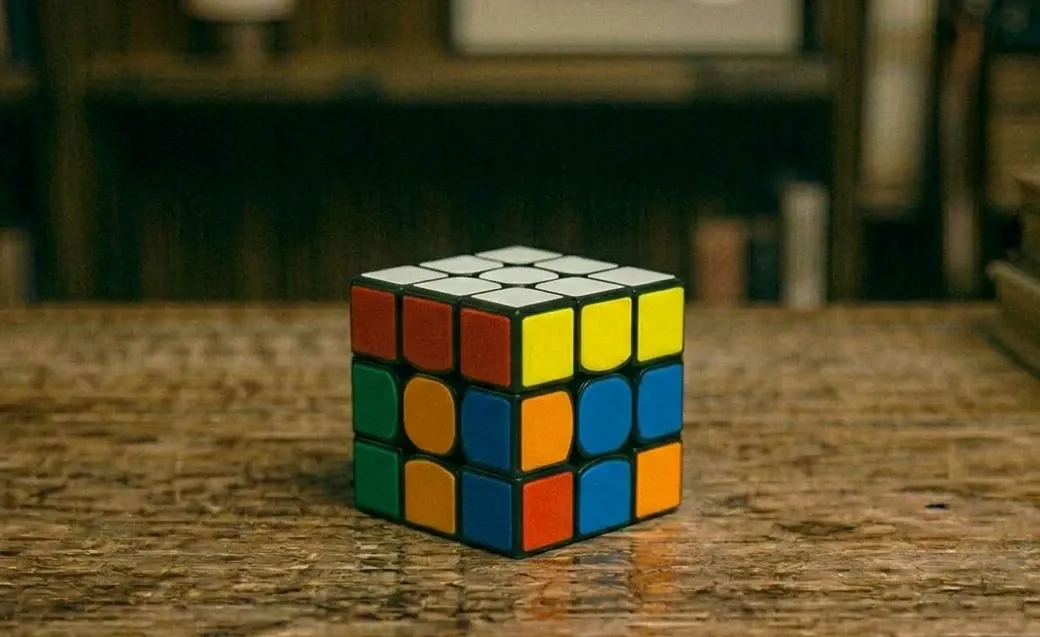
Busca en la capa superior piezas de arista sin pegatinas amarillas e insértalas en la capa intermedia. Gira con cuidado. Como los mini cubos son pequeños, es fácil mover dos capas por accidente.
Paso 5. Forma la cruz amarilla
Usa tu algoritmo estándar de última capa hasta que se forme una cruz amarilla en la cara superior. Mantén fija la orientación del cubo durante toda la secuencia.
Paso 6. Alinea las aristas amarillas
Gira la cara U (superior) hasta que al menos dos aristas amarillas coincidan con sus centros laterales. Ejecuta la secuencia de alineación de aristas y repite hasta que las cuatro aristas estén alineadas.
Nota: U significa girar la capa superior, R significa girar la capa derecha y L significa girar la capa izquierda.
Paso 7. Coloca las esquinas amarillas
Comprueba si cada esquina pertenece a su posición correcta (aunque esté girada). Usa el algoritmo de colocación de esquinas hasta que todas las esquinas estén en las ubicaciones correctas.
Paso 8. Gira las esquinas amarillas
Por último, gira las esquinas superiores una por una. El cubo puede parecer temporalmente mezclado durante este paso, pero se resolverá cuando la última esquina quede orientada.
Cuando te atasques: flujo rápido de recuperación
Cuando la resolución de un mini cubo de Rubik empieza a complicarse, no sigas girando al azar. Eso normalmente empeora el problema. Un mejor enfoque es detenerte, revisar el cubo y recuperar desde el último paso que sabes que estaba correcto.
1. Vuelve a la última etapa correcta
Primero, identifica la última parte de la resolución que estaba definitivamente bien. Una vez que conozcas ese punto de control, continúa desde ahí en lugar de intentar arreglar todo de una vez. Puede ser:
Una cruz blanca completamente alineada
Una primera capa completada
Una capa intermedia resuelta
2. Comprueba si la dirección del algoritmo fue incorrecta
Un error muy común es usar la secuencia correcta en el lado izquierdo, o girar el cubo antes de que el algoritmo haya terminado. Hazte las siguientes preguntas. Si la respuesta es sí, repite el paso con la configuración correcta.
3. Revisa el estado real del cubo
No juzgues la solución solo por cómo se ve. Un cubo puede parecer desordenado y aun así ser recuperable. En su lugar, revisa hechos simples. Esto te ayuda a identificar errores reales en vez de adivinar qué paso salió mal.
¿Las aristas coinciden con los colores de los centros?
¿Las esquinas están en las ranuras correctas?
¿El cubo sigue en la misma orientación con la que empezaste?
4. Descarta problemas de hardware
A veces el problema no es el método. Los cubos pequeños son más fáciles de girar mal, atascar o dejar con giros incompletos. Si esto ocurre con frecuencia, reduce un poco la velocidad y asegúrate de que el cubo gire limpiamente antes de culpar a tu resolución. Observa señales como:
Capas que no giran por completo
Piezas que se atascan durante los algoritmos
Movimiento accidental de dos capas
5. Usa ayuda solo para problemas repetidos
Si sigues atascándote en el mismo punto, usa herramientas de apoyo solo para ese problema específico. La app Smart Cube Solve con escaneo por IA puede ayudar cuando:
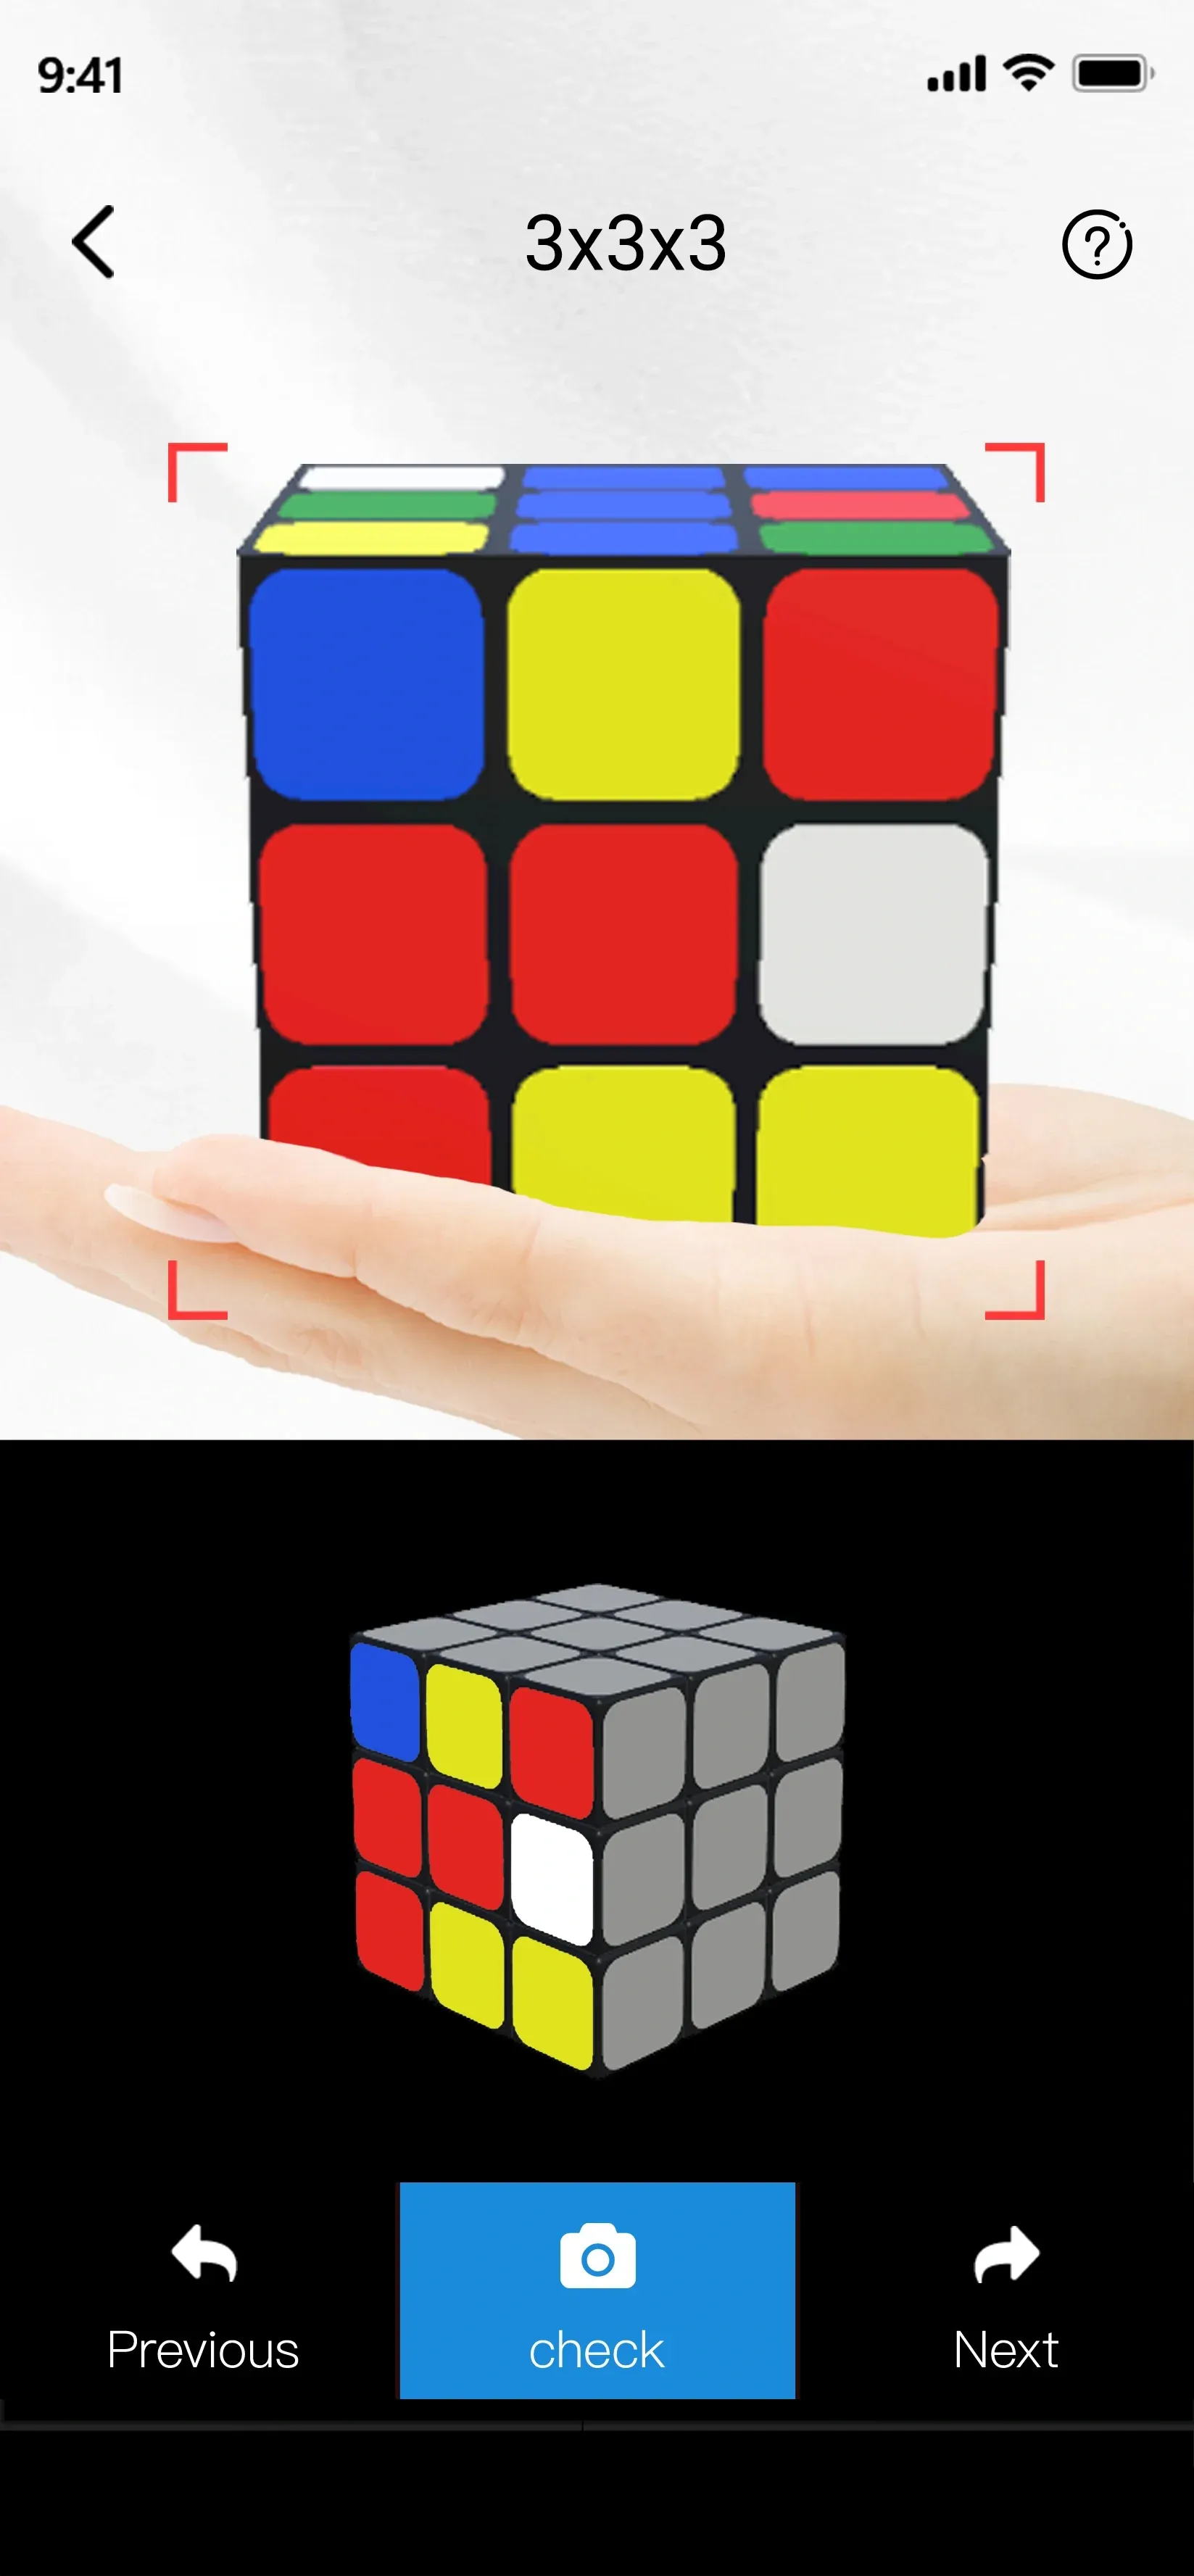
El mismo caso de última capa sigue fallando
Sigues reflejando una secuencia conocida
No estás seguro de si el problema es la ejecución o el reconocimiento del caso
Úsala para encontrar el siguiente movimiento correcto y luego vuelve a resolver manualmente. Así aprendes el método en lugar de depender de la herramienta.
Conclusión
Entender cómo resolver un mini cubo de Rubik se reduce a seguir los pasos correctos y mantener tus giros bajo control. Aunque el cubo es más pequeño, usa el mismo método de resolución que un 3×3 estándar. Si mantienes una orientación fija y resuelves capa por capa, puedes completar el cubo de forma constante y evitar errores comunes. Si necesitas ayuda para identificar casos difíciles o revisar una mezcla, herramientas como la app CubeSolver AI pueden ofrecer guía paso a paso mientras sigues practicando tu propio proceso de resolución.
Preguntas frecuentes sobre el mini cubo de Rubik
¿Cómo resolver un mini cubo paso a paso?
Para resolver un mini cubo de Rubik (3×3) paso a paso, sigue el mismo método que se usa para un cubo estándar.
Forma la cruz blanca
Resuelve las esquinas blancas
Resuelve las aristas de la capa intermedia
Forma la cruz amarilla
Alinea las aristas amarillas
Coloca las esquinas amarillas
Gira las esquinas amarillas
¿Es más fácil un Rubik 2x2 que uno 3x3?
Sí, un cubo de Rubik 2×2 suele ser más fácil que uno 3×3. La razón principal es que un cubo 2×2 solo tiene piezas de esquina, mientras que un cubo 3×3 tiene esquinas, aristas y centros fijos. Como hay menos piezas, el número de posiciones posibles es mucho menor y el proceso de resolución es más simple.
¿Es más fácil el Rubik's Mini?
Un Rubik's Mini (mini cubo 3×3) no es más fácil que un cubo 3×3 normal. Usa el mismo método y los mismos pasos de resolución que un cubo de Rubik 3×3 estándar. La única diferencia es el tamaño más pequeño. Como el cubo es más pequeño, de hecho puede sentirse más difícil para algunas personas porque:
La superficie de giro es más pequeña, por lo que los dedos pueden resbalar o mover dos capas por error.
Los colores están más juntos, lo que puede ralentizar el reconocimiento.
Puede ser más difícil agarrarlo cómodamente durante giros rápidos.
¿Qué es un llavero de mini cubo de Rubik?
Un llavero de mini cubo de Rubik es un cubo de Rubik pequeño unido a una anilla de llavero, diseñado para llevarse en llaves, bolsos o mochilas. Normalmente parece un pequeño cubo 3×3 y funciona igual que un cubo de Rubik normal, pero en un tamaño mucho más pequeño.
¿Existe un mini cubo de Rubik GAN?
Sí, existe un mini cubo de Rubik GAN. Un ejemplo conocido es el GAN 330 Mini 3×3 Keychain Cube. Es un cubo 3×3 muy pequeño (de unos 30 mm de ancho) que se puede enganchar a un llavero o bolso. Aunque es diminuto, es un cubo de Rubik completamente funcional y se puede resolver igual que un 3×3 normal.