A 2x2 Rubik's Cube has only eight corner pieces, but those corners still have to be in both the correct position and the correct orientation. A face with four matching stickers is not necessarily a solved layer: the two side colors of every corner must also match the neighboring sides.
For a first solve, use this three-stage Layer-by-Layer method:
- Solve one complete layer.
- Move the four last-layer corners into their correct positions.
- Twist those corners without changing their positions.
This guide teaches the complete beginner route first. After you can repeat it without losing your holding angle, the final sections explain how Ortega and CLL change the solve and which method to learn next. The goal is not just to finish one scramble, but to understand why each corner moves and how to recover when a step goes wrong.
How a 2x2 Cube Works
A 2x2 has no fixed center pieces and no edge pieces. Every visible piece is a corner with three colors. The color combination tells you where the corner belongs; the direction of its three stickers tells you whether it is oriented correctly.
For example, the white-red-green corner always belongs between the white, red, and green faces. If it occupies that location but the white sticker points sideways, its position is correct but its orientation is not.
Use two checks throughout the solve:
- Position check: Do the corner's three colors belong between these three faces?
- Orientation check: Do all three stickers face their matching sides?
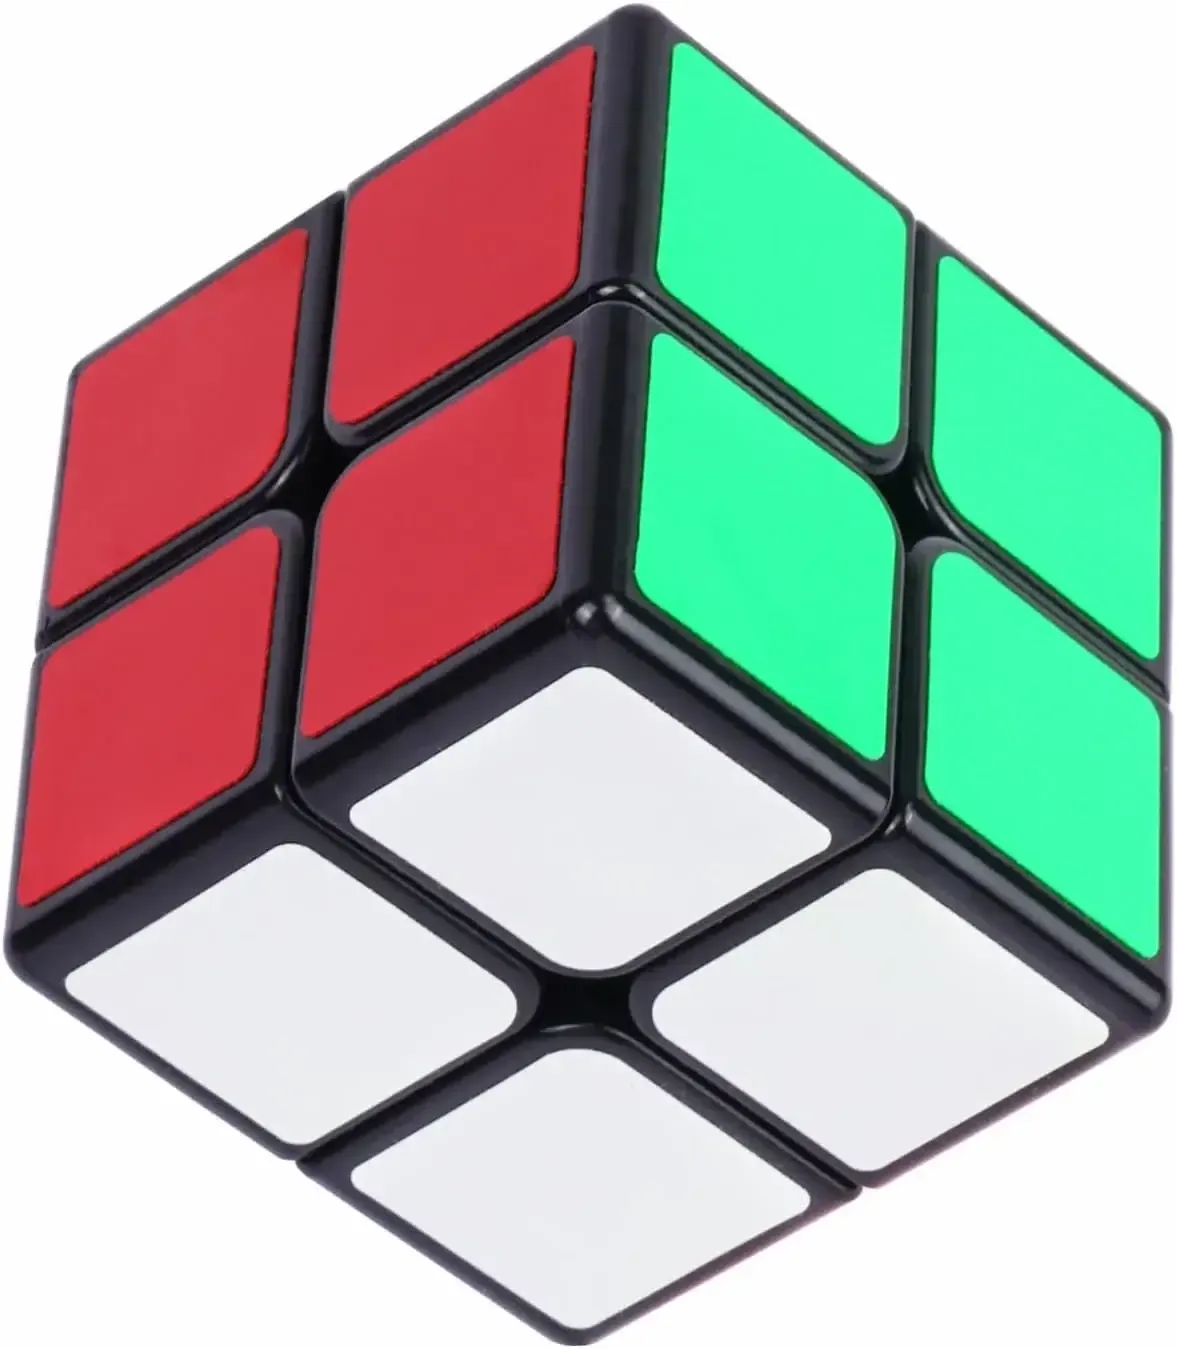
2x2 Notation You Need
Keep one cube orientation while reading an algorithm.
R turns the right face clockwise when you look directly at the right face.L turns the left face clockwise when you look directly at the left face.U turns the upper face clockwise when you look directly at the upper face.D turns the lower face clockwise when you look directly at the lower face.F turns the front face clockwise when you look directly at the front face.- An apostrophe means counterclockwise, such as
R'.
- A
2 means a half turn, such as U2.
Clockwise is always judged from the face being turned, not from your usual front view. If an algorithm fails, first check the holding angle and apostrophes before trying a different sequence.
Step 1: Solve the First Layer
This guide uses white as the first layer. Keep white on the bottom after you place the first corner.
Place a reference corner
Choose any white corner and place it with the white sticker facing down. Its two side stickers establish the colors of the two neighboring faces. Because a 2x2 has no centers, this first corner becomes your reference for the rest of the layer.
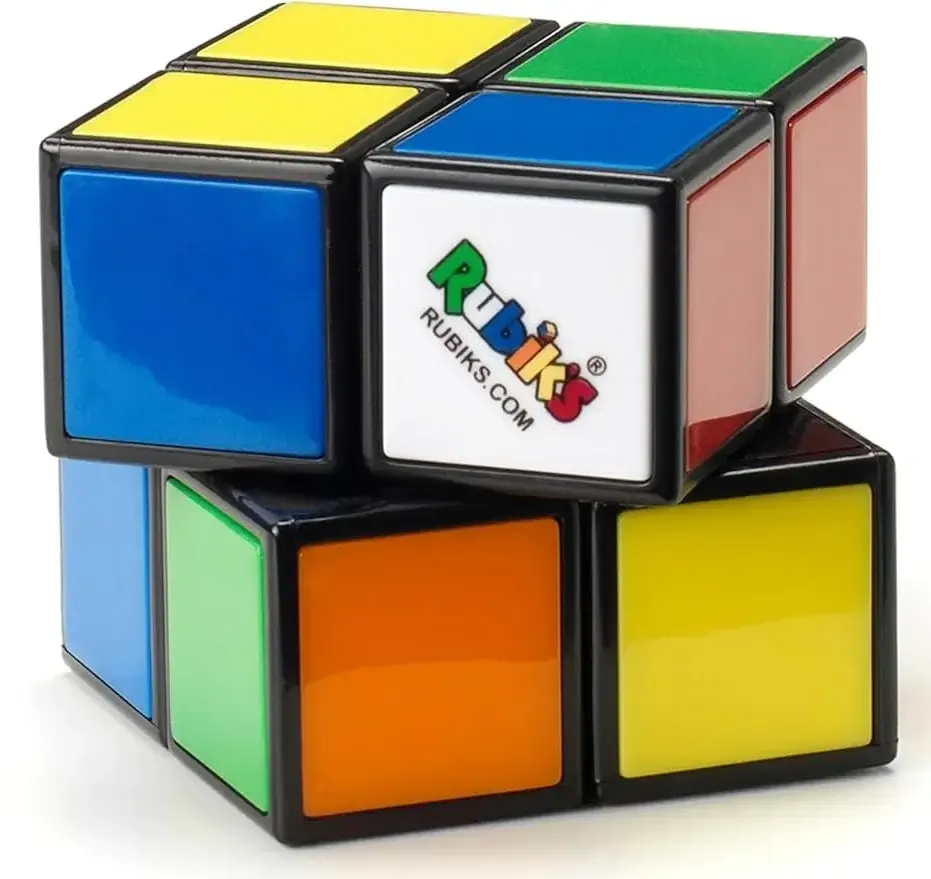
Match each new corner to its slot
Find another white corner and read its two non-white colors. Compare them with the two side colors on your reference corner:
- If the new corner shares one side color with the reference corner, it belongs in the neighboring white-layer slot on that color's side. Its other side color faces the next side of the cube.
- If it shares neither side color, it is the diagonally opposite white corner.
This comparison builds the side-color arrangement without fixed centers. Keep white facing down and rotate the whole cube only around its vertical axis until the empty destination is at lower-front-right. Then use U, U', or U2 to place the target corner directly above it at upper-front-right.
The white sticker can now face one of three directions:
- White faces right: perform
R U R'.
- White faces front: perform
F' U' F.
- White faces up: perform
R U2 R' U' R U R'.
Do not change the holding angle during a sequence. The empty destination must remain at lower-front-right and the target corner must begin at upper-front-right.
If the white corner is already in the bottom layer but is twisted or in the wrong slot, hold that corner at lower-front-right and perform R U R' once to move it to the upper layer. Realign it above the correct slot, identify where its white sticker now faces, and use the matching case above.
Repeat this process for the remaining white corners. After every insertion, check the two visible side stickers against the adjacent corners. A correct insertion completes part of the white layer, not only the white face.
If an insertion does not work
Before trying another algorithm, reset the setup:
- Put the unsolved destination at lower-front-right.
- Put the matching white corner at upper-front-right.
- Check whether the white sticker faces right, front, or up.
- Perform the matching sequence from the first move to the last without rotating the cube.
Most first-layer failures come from choosing the correct algorithm from the wrong holding angle or aligning a corner above a slot with the wrong two side colors.
First-layer completion check
The first layer is complete only when:
- all four white stickers face down;
- each side shows a matching two-sticker bar on its lower row;
- every white corner has the correct two neighboring colors.
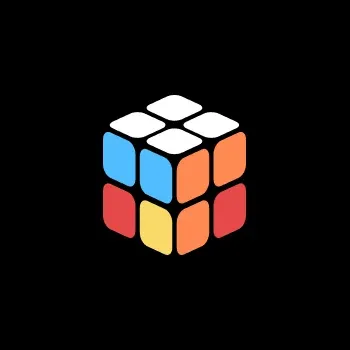
The solid white face in the image is only the first check. Turn the cube and confirm that every adjacent side also has a matching two-sticker bar before moving to Step 2.
Step 2: Put the Last-Layer Corners in the Correct Positions
Keep the solved white layer on the bottom and the unsolved layer on top. At this stage, ignore which way the yellow stickers point. You are checking only whether each corner occupies the location defined by its three colors.
Find a correctly positioned corner
Look at one top corner and compare its three colors with the three faces around that slot. The corner is correctly positioned even if its yellow sticker faces sideways.
- If one corner is correct, hold it at the upper-front-right position.
- If no corner is correct, perform the algorithm once from any angle, then check again.
Use:
U R U' L' U R' U' L
Check all four positions after the sequence. If necessary, put the correct corner at upper-front-right again and repeat. Stop as soon as every corner is in its correct location; their yellow stickers do not need to face up yet.
Why this step often fails
A corner was judged by one sticker. Position depends on all three colors. A yellow-red-blue corner cannot occupy the yellow-red-green slot.
The correct corner was not kept at upper-front-right. The algorithm cycles the other corners relative to the held position. Changing the angle changes which pieces move.
The first layer was only a white face. If its side colors were mismatched, no last-layer algorithm can finish the cube cleanly. Return to Step 1 and rebuild a true layer.
Step 3: Orient the Last-Layer Corners
Now every corner belongs in its current location. Turn the entire cube over so the solved white layer is on top and the unsolved yellow layer is on the bottom.
Place an unoriented yellow corner at the lower-front-right position. Repeat:
R' D' R D
until that corner's yellow sticker faces down. It normally takes two or four repetitions.
The cube will look temporarily scrambled while you repeat the sequence. This is expected. Do not rotate the whole cube, do not stop halfway through the four-move sequence, and do not repair other pieces.
When the lower-front-right corner is oriented:
- Turn only the
D face to bring the next unoriented yellow corner to lower-front-right.
- Repeat
R' D' R D until its yellow sticker faces down.
- Continue until all four yellow stickers face down.
- Use a final
D, D', or D2 turn to align the side colors.
The cube should now be solved.
The three rules that protect this step
- Keep white on top for the entire orientation stage.
- Work only on the lower-front-right corner.
- Between corners, turn only the bottom face.
If the solved white layer appears damaged in the middle of the process, continue the complete four-move repetitions. The temporarily displaced pieces return after all target corners are oriented and the bottom face is realigned.
Troubleshooting a 2x2 Solve
| What you see |
Likely cause |
What to check next |
| White face complete, but side colors do not match |
A face was solved instead of a layer |
Rebuild the white corners using all three colors |
| One last-layer corner never seems correct |
Position and orientation are being confused |
Ignore sticker direction; compare the corner's three colors with the slot |
| Positioning algorithm moves the correct corner away |
Wrong holding angle |
Put the known correct corner at upper-front-right before starting |
Cube looks scrambled during R' D' R D |
Sequence is incomplete or the temporary state caused concern |
Finish full four-move repetitions; do not repair pieces mid-sequence |
| One corner becomes correct but another breaks |
Whole cube was rotated between corners |
Keep white on top and use only D, D', or D2 to change targets |
| Cube is one bottom turn from solved |
Final alignment is missing |
Finish with D, D', or D2 |
| A single corner appears twisted on an otherwise solved cube |
Physically impossible state from legal turns, or the cube was reassembled incorrectly |
Check color entry and physical assembly with the 2x2 Cube Solver |
Choose the Right 2x2 Method
Finish at least several reliable beginner solves before adding a faster method. The methods below do not replace accurate corner recognition; they reduce the number of last-layer checks after that recognition becomes consistent.
| Method |
First step |
Last-layer approach |
Learning load |
Best fit |
| Beginner Layer-by-Layer |
Solve one full layer |
Position corners, then twist them |
A small set of repeated sequences |
Your first reliable solves |
| Ortega |
Build one complete face; a solved layer is optional |
Orient the last layer, then permute both layers |
About a dozen commonly taught cases |
Reliable beginners who pause during the last layer |
| CLL |
Solve one full layer |
Solve the last layer in one algorithm |
42 cases |
Solvers with stable first layers and strong recognition |
The difference between a face and a layer matters here. The beginner method and CLL require the side colors of the first layer to match. Ortega can begin with one solid face even when its four corners are not yet permuted into a solved layer; the final PBL step fixes both layers.
When to Learn Ortega
The beginner method separates last-layer position and orientation into repeated checks. Ortega reduces those pauses:
- Build one complete face. It may already be a solved layer, but that is not required.
- Orient the last layer with one OLL algorithm.
- Permute both layers with one PBL algorithm.
When you can build the first layer reliably but still pause during the last layer, the Ortega method's OLL and PBL cases provide the next practice sequence. Learn one case group at a time and keep the holding angle attached to every algorithm you memorize.
When to Learn CLL
CLL solves the entire last layer after a full first layer. It uses 42 cases, so recognition becomes as important as execution.
Choose CLL when:
- your first layer is fast and consistent;
- Ortega recognition no longer causes long pauses;
- you can learn cases in small groups and retain their holding angles;
- you are willing to review algorithms regularly instead of memorizing them once.
After Ortega recognition becomes automatic, the complete 2x2 CLL case library lets you train one-look last-layer recognition in small groups. Add new cases only when you can still recognize and execute the cases you learned earlier.
A 7-Day 2x2 Practice Plan
Day 1: Learn notation and corner checks
Practice R, L, U, D, F, and their counterclockwise turns. These are all used in the beginner sequences above. Then pick random corners and name their three-color slots without solving.
Day 2: Build true first layers
Solve only the first layer from several scrambles. Stop after each attempt and check all four side bars. Do not time the session.
Day 3: Practice corner positions
Start from a solved first layer. Identify which last-layer corners are correctly positioned before making a move. Drill U R U' L' U R' U' L slowly with one fixed holding angle.
Day 4: Practice corner orientation
Drill R' D' R D in complete four-move groups. Say the moves aloud and use only bottom-face turns to change the target corner.
Day 5: Complete untimed solves
Solve from scramble to finish. After each solve, record one issue: first-layer mismatch, position recognition, holding angle, or lost move.
Day 6: Measure a baseline
Several complete solves recorded in the Cube Timer reveal whether your baseline is consistent before you chase a fastest single solve. Compare error count and pauses as well as the final times.
Day 7: Choose the next path
If solves still fail, repeat the weakest beginner stage. If solves are reliable but the last layer has too many pauses, begin Ortega recognition. Slow algorithm replays in the Cube Simulator make the notation easier to verify before you repeat it on a physical cube.
2x2 Rubik's Cube FAQ
Is a 2x2 easier than a 3x3?
A 2x2 has fewer pieces and no edges or centers, so the beginner process is shorter. It still requires accurate corner recognition, holding angles, and algorithms; fewer pieces does not make every scrambled state obvious.
Can a 2x2 be solved with one formula?
Not with one fixed sequence from every scramble. The beginner method uses different setup moves to build a first layer, a corner-positioning sequence, and a corner-orientation sequence. A solver can generate a state-specific solution, but that sequence changes with the scramble.
Why does my solved face not stay solved?
You may have built a single-color face rather than a correctly matched layer, or stopped the corner-orientation sequence halfway. Check all side colors after Step 1 and complete every R' D' R D repetition before moving to another corner.
Should I learn Ortega or CLL first?
Learn Ortega first. It adds a manageable OLL-and-PBL structure after the beginner method. CLL's 42 cases make more sense after first-layer building and last-layer recognition are already consistent.
How should I use a 2x2 solver while learning?
Use it to restore an unfamiliar state, verify color entry, or compare a generated solution with your own attempt. Then recreate the case and identify where your method failed. A generated answer is most useful when it leads to a repeatable diagnosis.
Your Next Solve
For your next scramble, focus on the three checks that control the entire beginner method:
- Build a full layer, not only a face.
- Position last-layer corners by their three colors.
- Keep one holding angle while orienting each corner.
Once those checks are reliable, record complete solves in the Cube Timer and move to Ortega only when the extra algorithms address a real pause in your solve.